kedd, augusztus 31

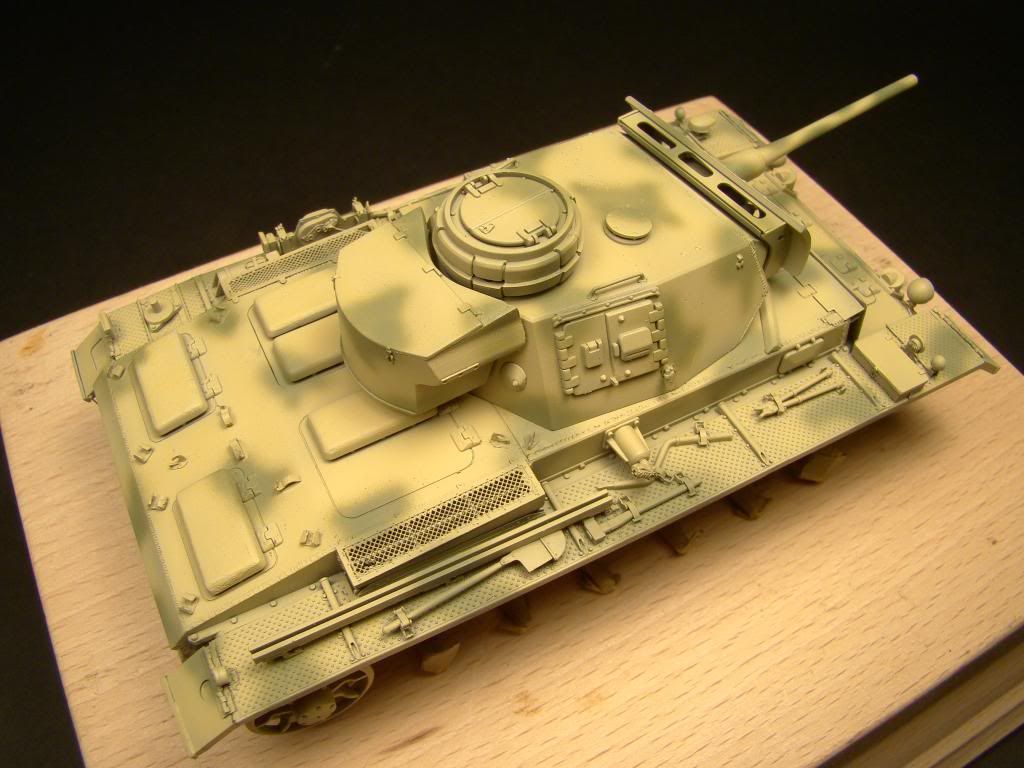
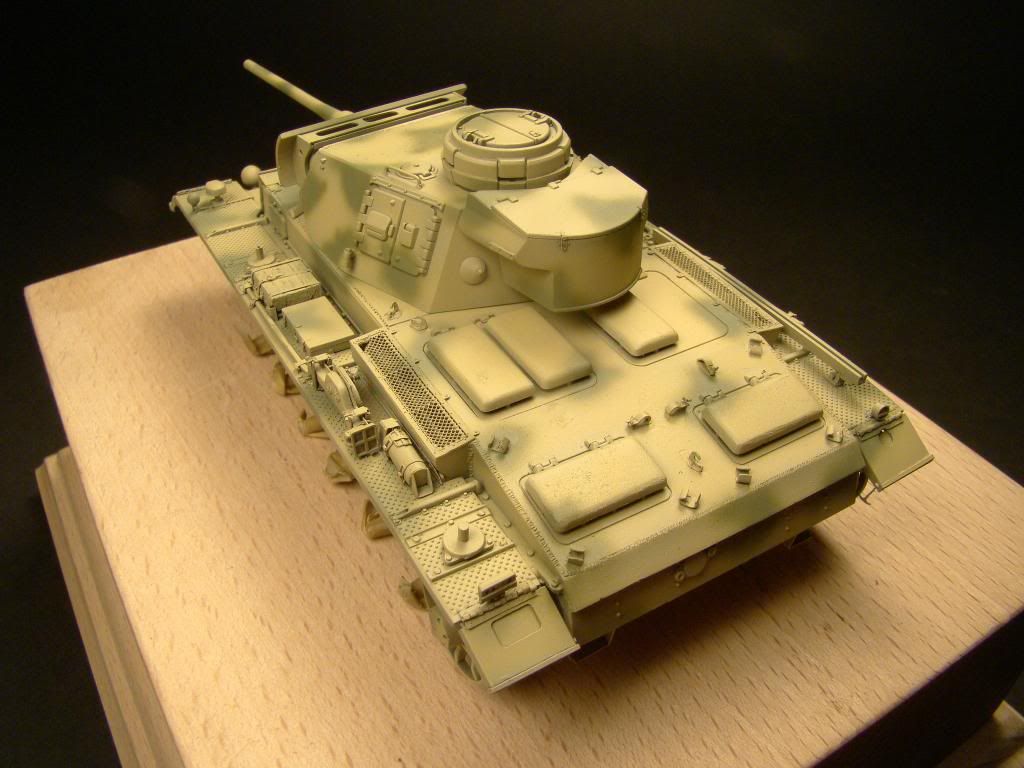
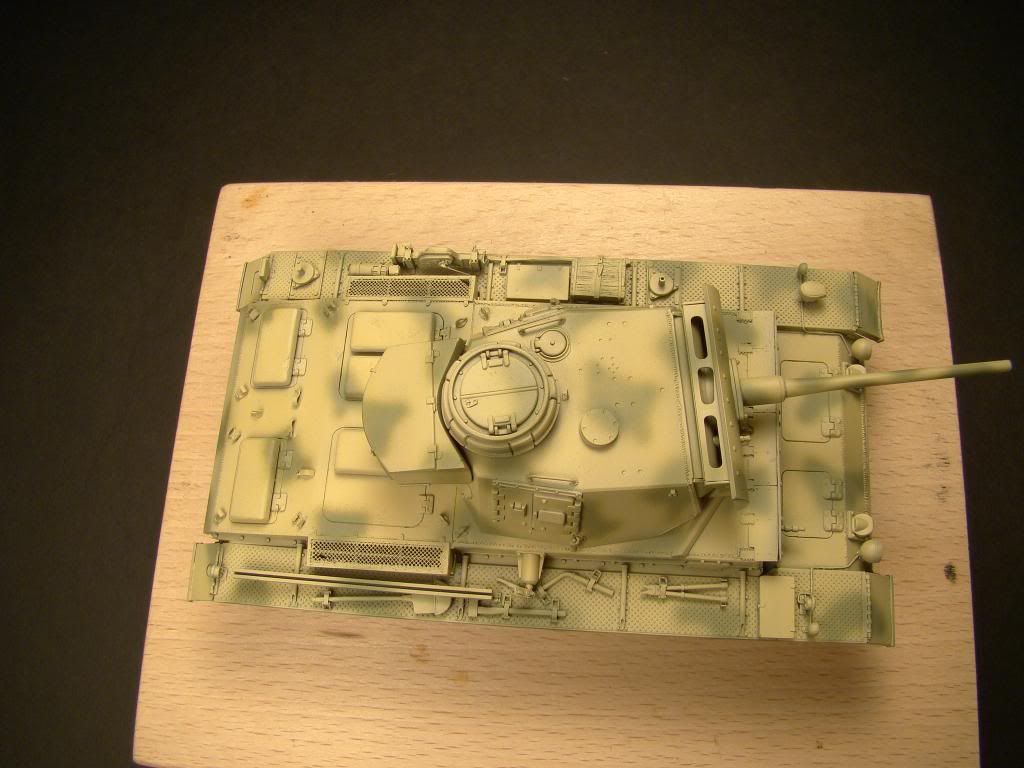
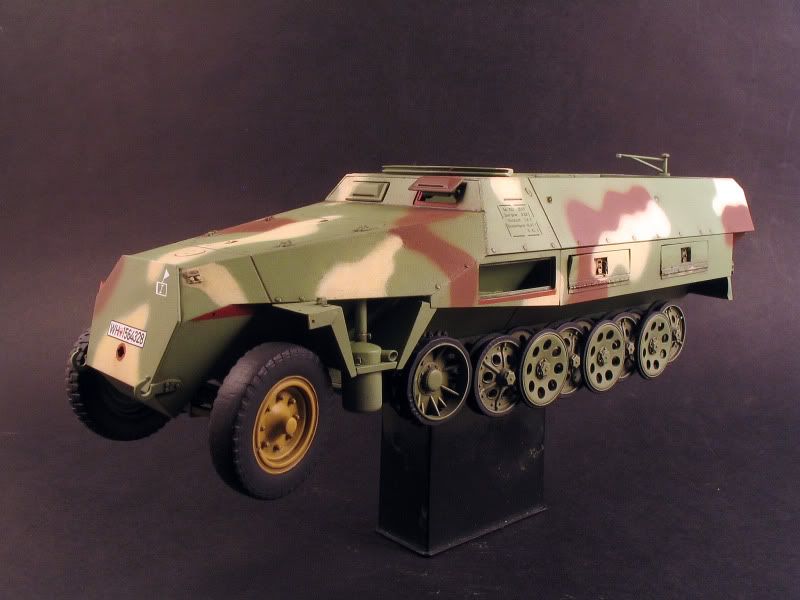
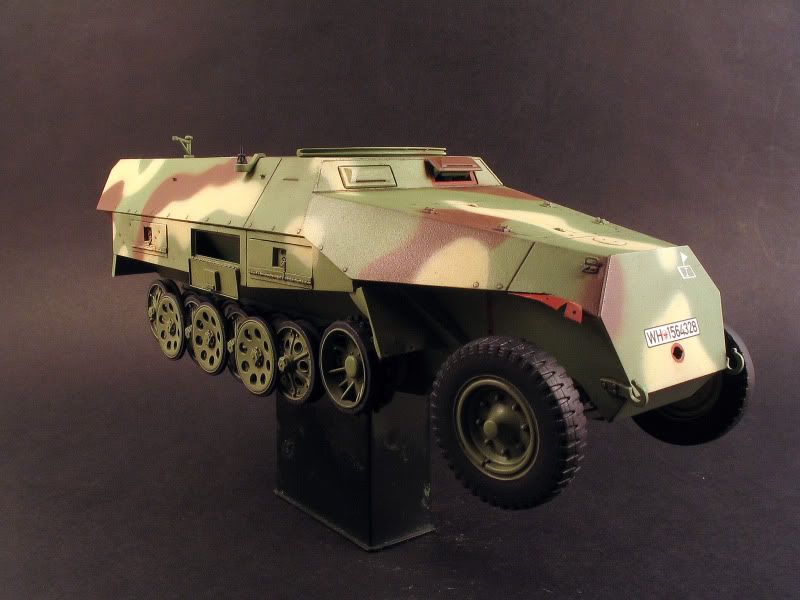
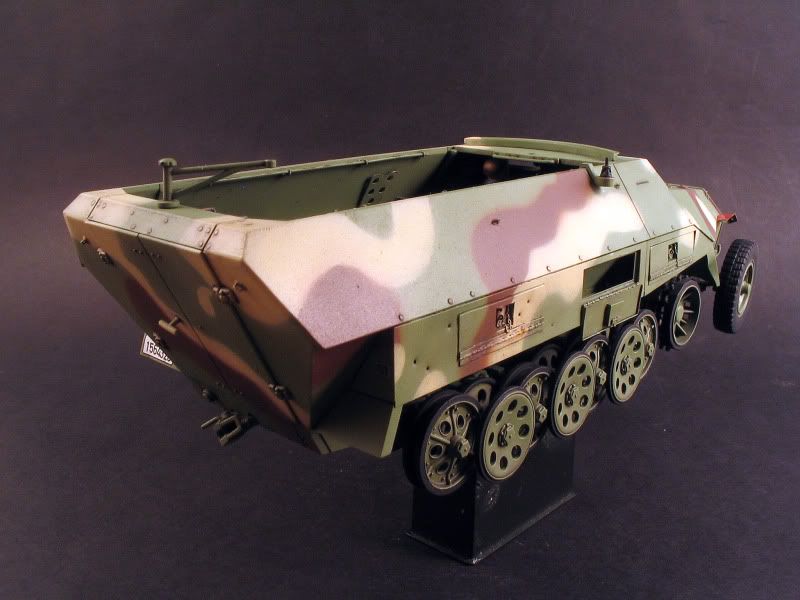
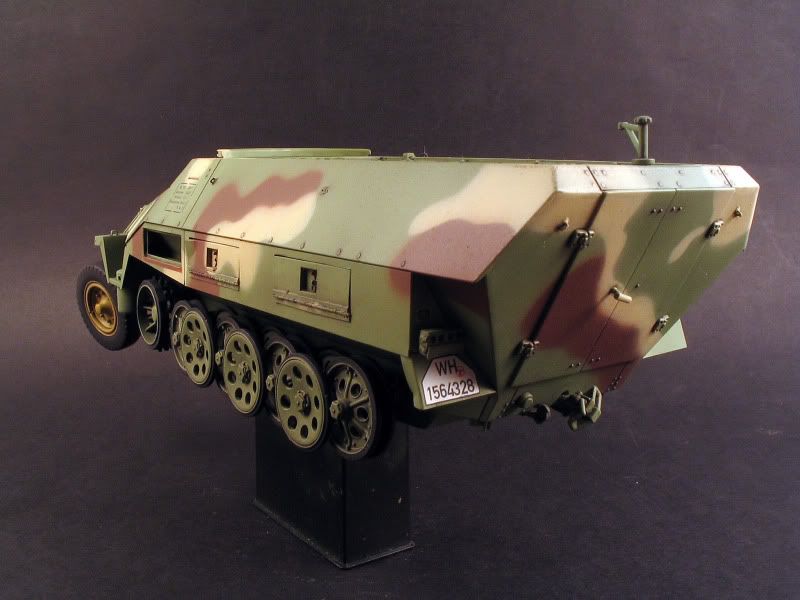
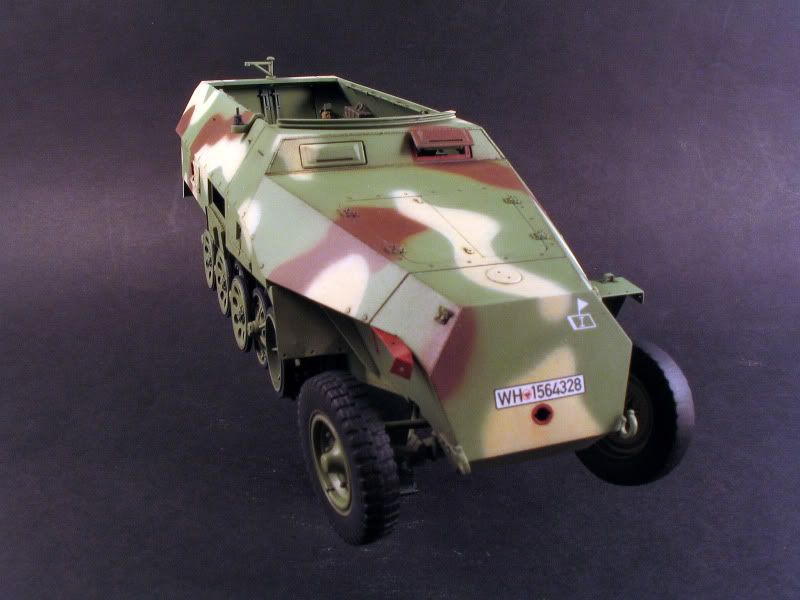
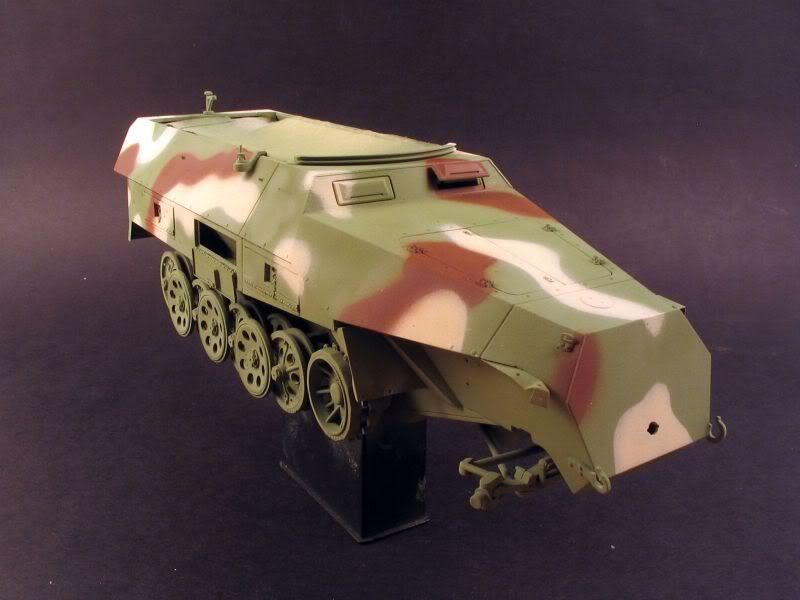
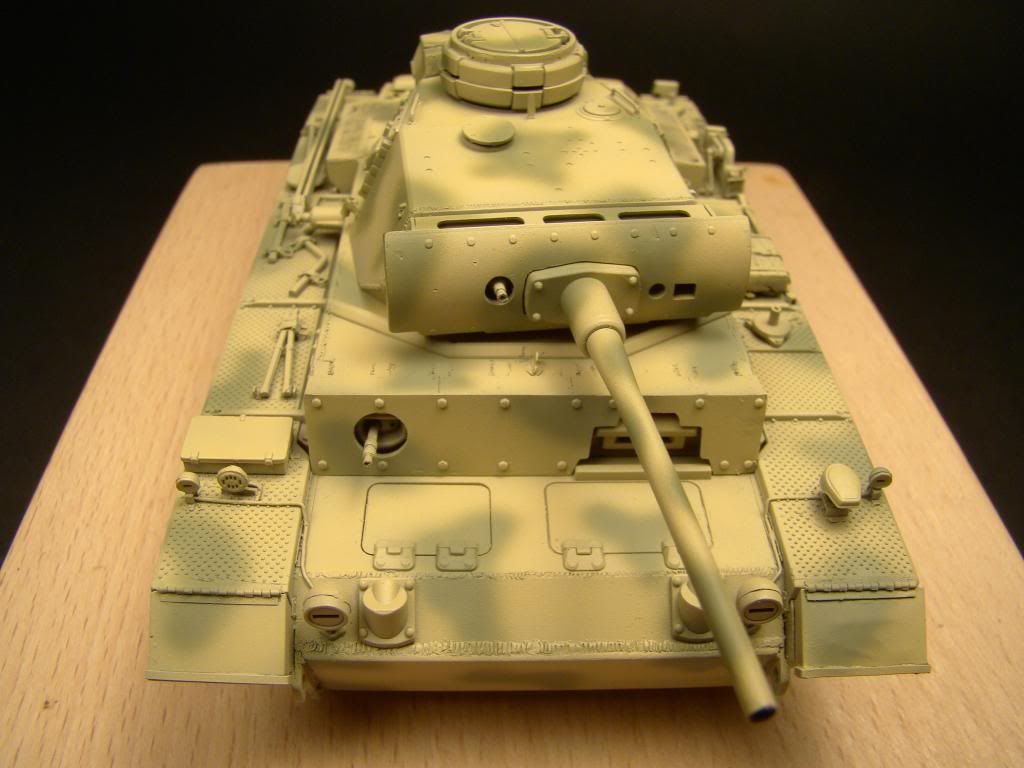
Pz III/L painting after building

Dear Visitors,

After little pressure break the Pz III/L project is continue again.
I had been questing long time before I decided for Pz's camo pattern. Many manding appeared from summer of '43 on the eastern front. This Pz was pertaining in strength of Totenkopf where the painting hasn't been accreted yet.This gave me a little free hand in made of camo. ( certainly by right of archive photos )
After building it got a black primer colour. I always use Gunze colors for painting, because that can use well for airbrush painting. Pz's basic colour is Dark Yellow and the staines are USAF green that I brightned with white in different rate.

Some pics:


csütörtök, augusztus 26

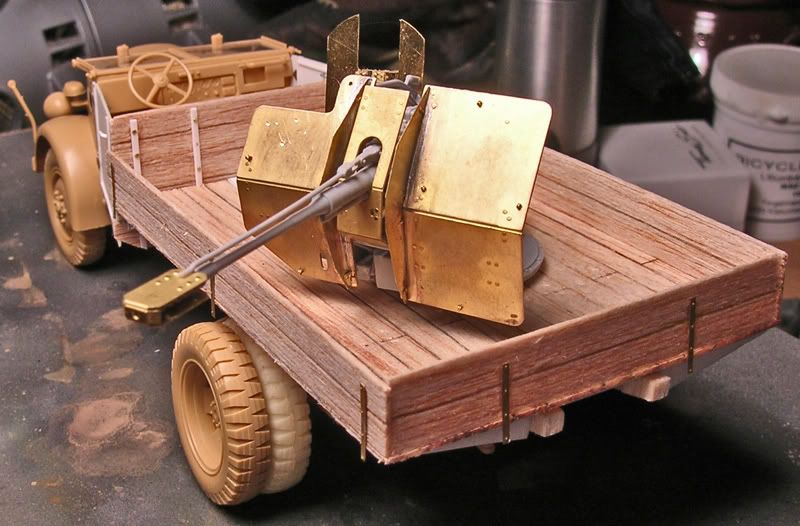
Jaboschrek

I have started this model a yer ago, but had a big break in the building phase.
I have now restarted it, and this is the stage where I am now.
The main sections are not glued togeather yet.
I have used the DML Jaboschreck gun whit its own PE. I am not completly satisfied with the kit. Bad fitting, for a DML kit I have expected better. The PE parts are not so well engeneered as the leading PE manufacturers sets but it's do the job.

vasárnap, július 18

Sd.Kfz. 251/1 Ausf.D - part 11: The wash and decals

I laugh and cry at the same time, cause the Argentin team fall out of the WC2010, but my 2nd favorite, the Spanish team won the Cup...olé  :)

After some correction on the camo,and painted red primer under the missing parts,  i applied the washes at the details like nuts, bolts, lines with MIG's Dark Wash. I used this technik heavily on the lower side of the vehicle. For the decals, i chose different sets from the line of Archers Dry Transfers. That was the first time i used them, i have to learn how does it work perfectly, but i love it, it's so thin :) I seal the whole model with Gunze Flat Clear, luckily, it has not result a total matt surface, just enough to the following dry brushing.

Some actual pics:


vasárnap, június 27

Sd.Kfz. 251/1 Ausf.D - part 10: The camo is on

Well, here comes the summer, and the modellers are tempted by other activity out there, so thats why the rarely post  :)

But nowdays, between 2 match of the WC2010 - Vamos Argentina - i have some time to go on with my halftrack. The camo, that i research, has been painted on. I used Tamiya colors, cause its a durable base for the  next weathering steps. The base color is ligth green, the XF-71 Cockpit Green is almost perfect for the late war german green. The idea to use this color were came from a Phil Stutcinskas article in TMMI 111 (Bergepanther G). Thanks Phil! Next part of the camo were the brown. The XF-68 NATO Brown painted direct from the bottle, cause i think the late war browns were darker than the previous browns. This paint is the best i have ever work with... i dont know why, probably its brand new, so fresh with slightly pigments, it was a dream work :) The light color is rather white than yellow. I mixed  XF-2 White with a little bit XF-60 Dark Yellow as i "feel" on the archive photos.

So, the camo is on, and the fun can begin! Please note that the paintwork didnt get the varnish protection, and before it i have to correct little mistakes, but i was so excited to show how it looks like!!!

Here are the pics:


vasárnap, május 16

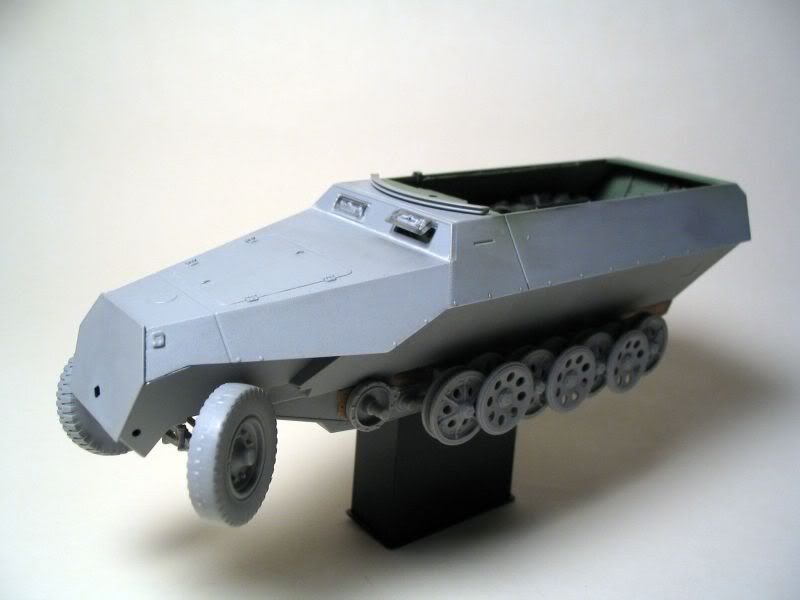
Sd.Kfz. 251/1 Ausf.D - part 9: Finished the building phase

On this week I just added some little things to the almost completed vehicle. It has got the rear NOTEK light, the antenna mount, the MG bar on the back, and i changed the hooks at the front-side for PE ones. I used some "personal" items onto the halftrack example the shovel, the bucket and the towing cable. The sandbag MG42 "mount" is my old favorite since i saw it on an archive photo. 

Well, the building process is nearly at the end, just a few things are missing, which will be on the right place when the figures get the final positions.

Here are the latest pics: 


szerda, május 5

Sd.Kfz. 251/1 Ausf.D - part 8: Exterior PE works...

First of all, sorry about the rarely updating, but everybody from the Club has a lot of work and very-very important family activity!!!

On the last week, I found time to make some PE parts on my halftrack. As you can see i dont like the fenders ;) I lost those on both side, but strictly based on archive photos. My first idea was to leave the right one, but i found it too one-sided...so i decided to make damage on the left one as well. The missed sidebox door on the left side is rather life-like as we can check on old photos. I had to make some shooting damage, and open ed door , although, hard to find pics from 251's in action, with opened side-door!

To finish the building process is so close... :)

Here are the pics:


hétfő, április 5

Sd.Kfz. 251/1 Ausf.D - part 7: The late war camo on 251's
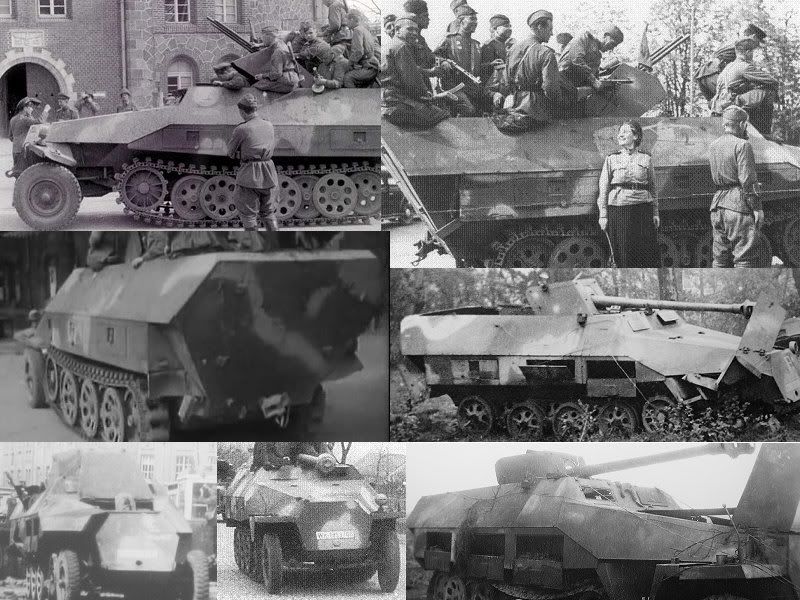
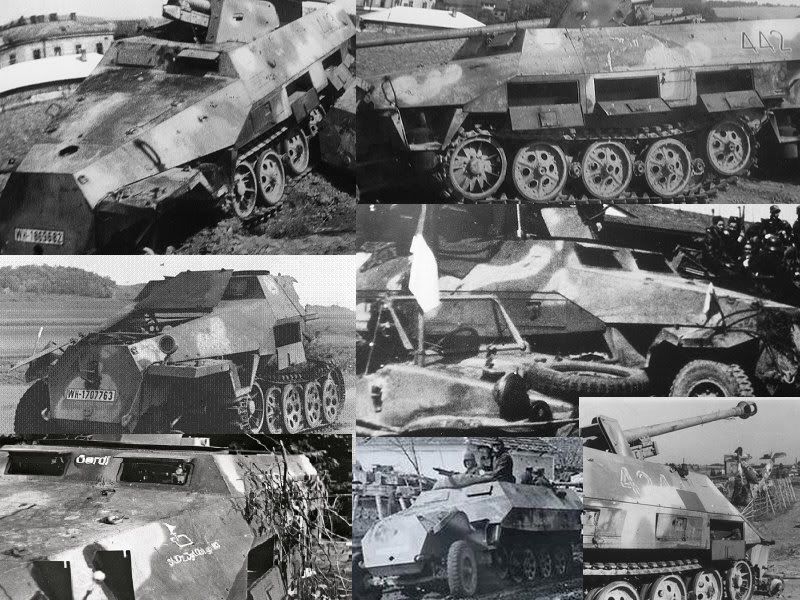
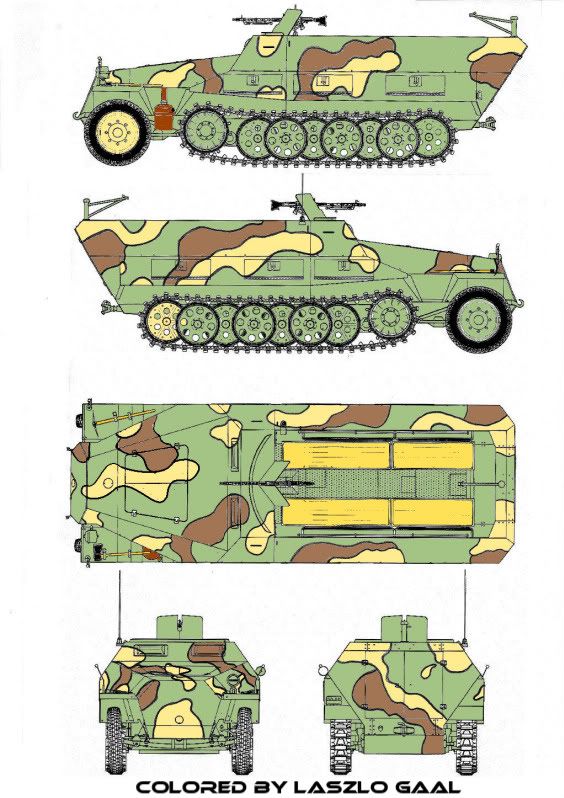
As i promised, i want to show my research about the standard camouflage on the late war 251's. I studied a lot of archive pics from 1945 about 251s and found an interesting thing. Some of them had similar camo schemes, specially notes by the yellow patch ont he sides and the front. The camo-map based on the 251/21 Drilling with full of russians in Torgau, April 1945 (Panzerwrecks X and a videostream). The unidentified patches are from other halftrucks which has the very similar camo as you can see on the assorted photos below. Some things were clear up: green base, not hard edge just very smooth border of the camo, 90% the germans used this scheme on late engine decked vehicle, not 100% same camo on the 251s.
Here is the camo-map painted by me, please note that the black line around the patches means the soft edge painting.
(Photos from Panzerwreck series, T.Jakl:Kvéten 1945, and from Internet.)


kedd, március 30

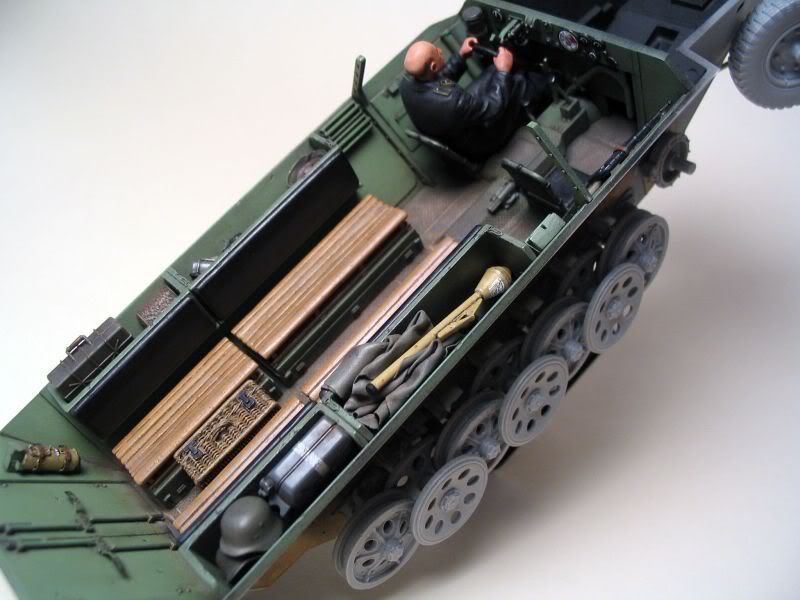
Sd.Kfz. 251/1 Ausf.D - part 6: The interior is done

Finally i could finished the interior last night. 
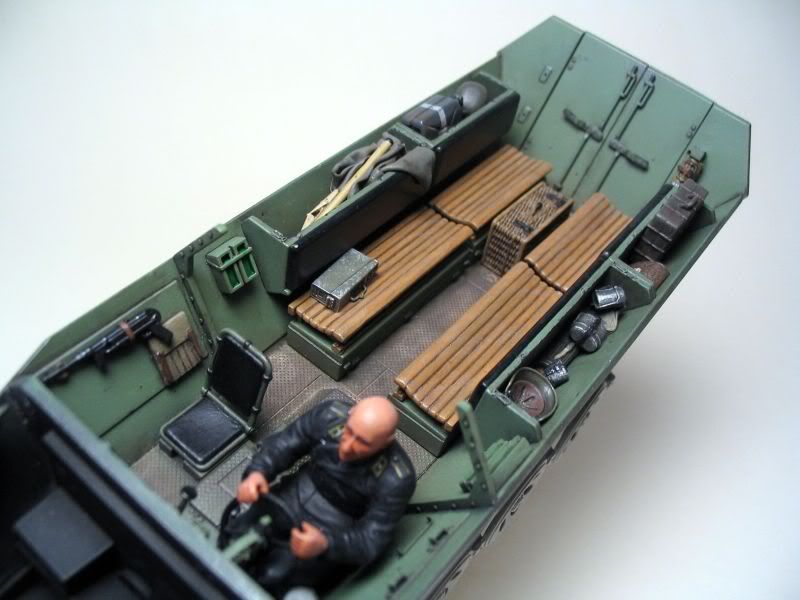
Hans stayed in his position, but just his back show up. I always like those models which has a crew member inside the vehicle with just low visibilaty. For example a driver, who needs a lot of correction of the pose to fit him to the right place. This time the  figure has a hard-connection with the vehicle, and i think its more lifelike against as the crew just stand on the top of the tank.
I put some equipment into the side boxes, like the tarp, jerry-can, helmets, panzerfaust, granade-case, canteens.
I use oils and pigments for the weathering effects just softly.

And the time has come, i glued together the upper and the lower parts. I am so excited to painting the camo. By the way camo...as i promised i will show you the camo-map that i drew after studied a lot of photos!!!...soon  :)

(Sorry for the quality of the pics, but i have only 1 lamp right now ;) )


szombat, március 27

BTR-80 Battle of Grozny 1999-2000 (figures)

Figures on the way.
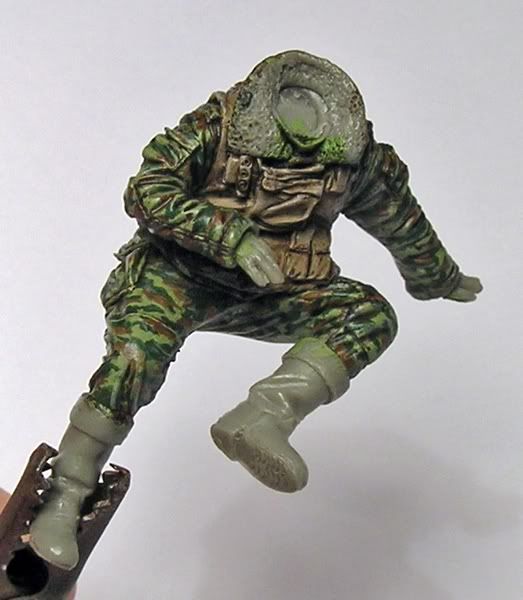
This is the first one. There will be six figures. Most of them in Flora camo, some of them in VSR and "shadow".
The figure was painted with vallejo acrylics, and got some oil wash. It is still far from finished. Russian uniforms oftenly have differences in the shades, so as a modeller it makes easyer to paint it.
In the second Chechen war Flora pattern was more commonly used then VSR but we can find several examples both of tham, amoung other camo patterns. The 6b3 flak vests had this borwnish biege color.

Russian Flora camo


kedd, március 16

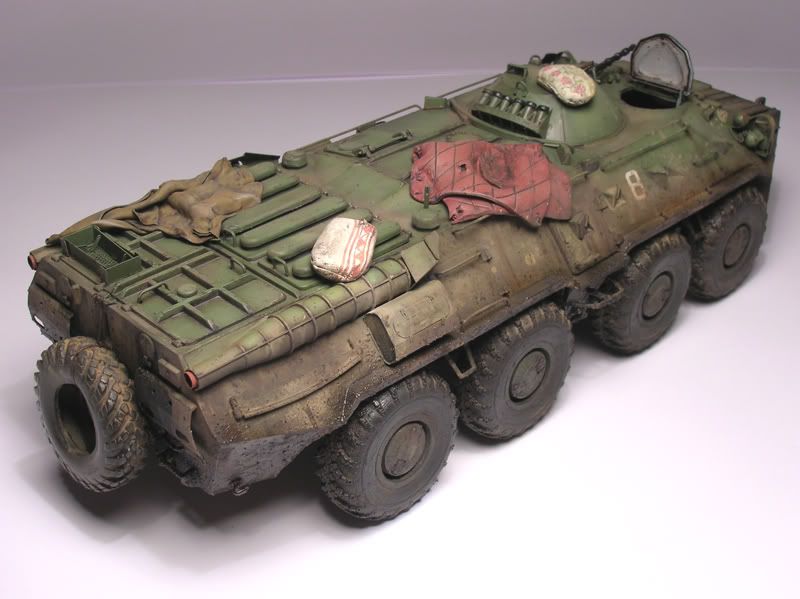
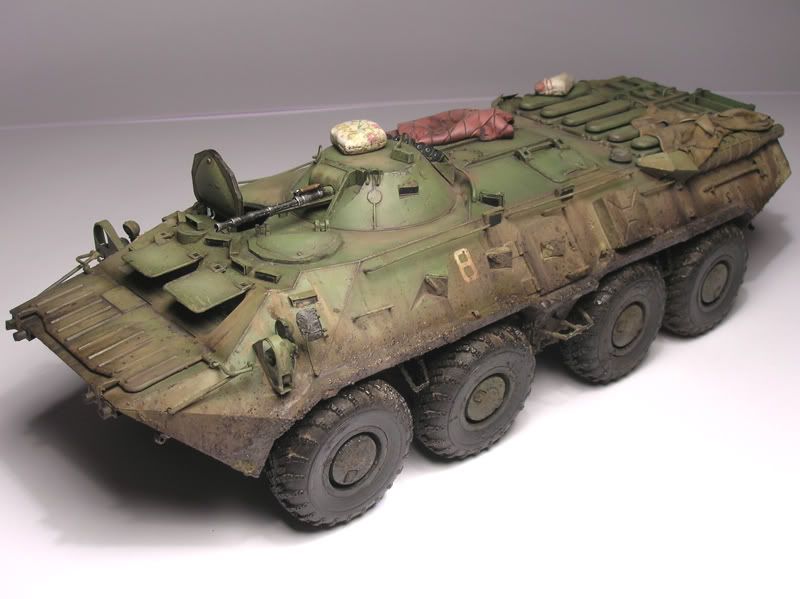
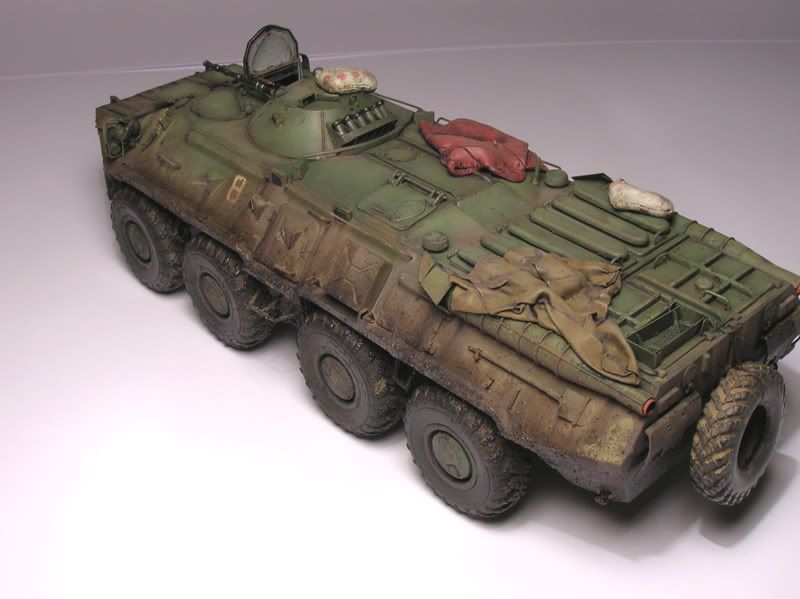
BTR-80 Battle of Grozny 1999-2000 (part 3)

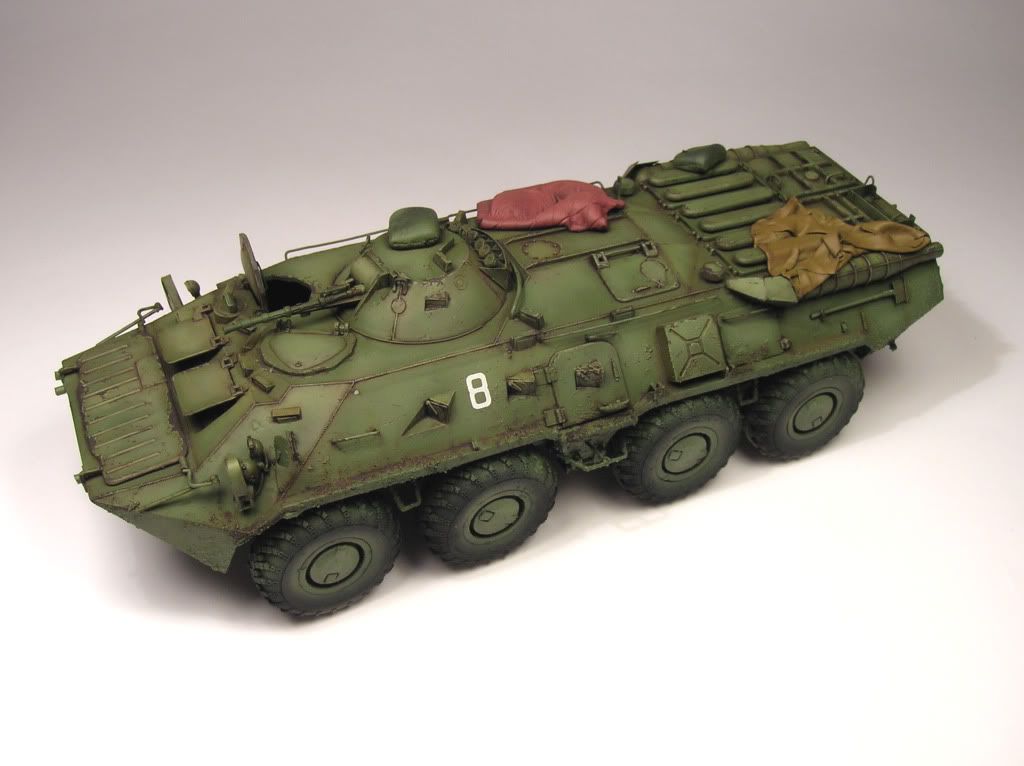
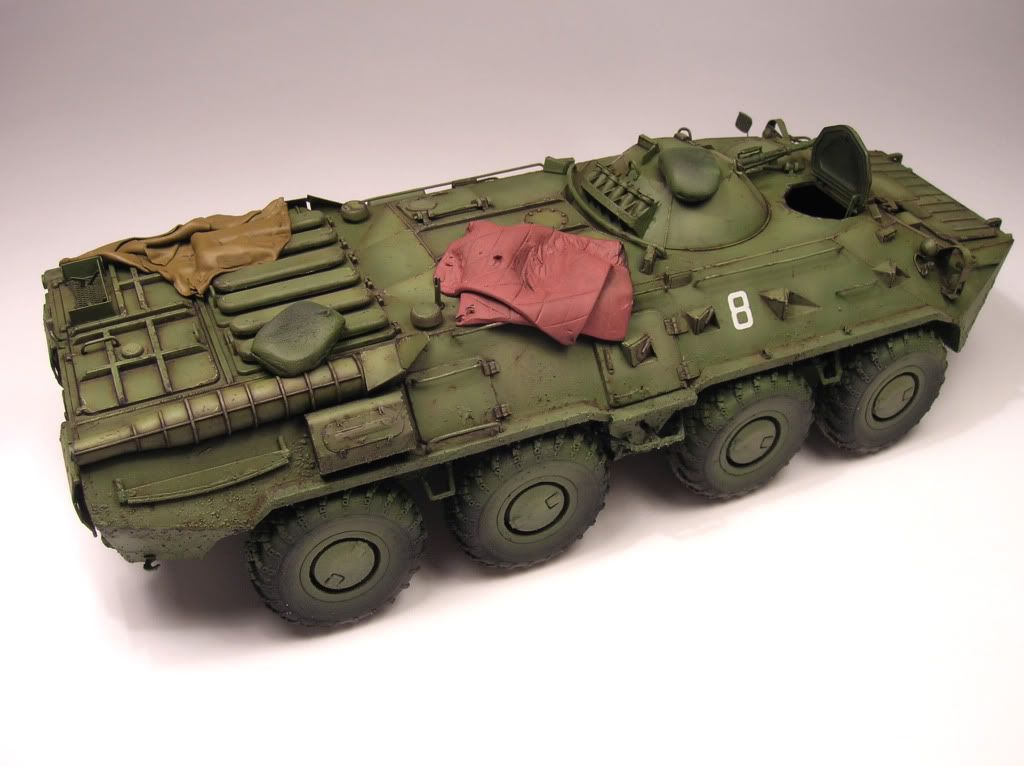
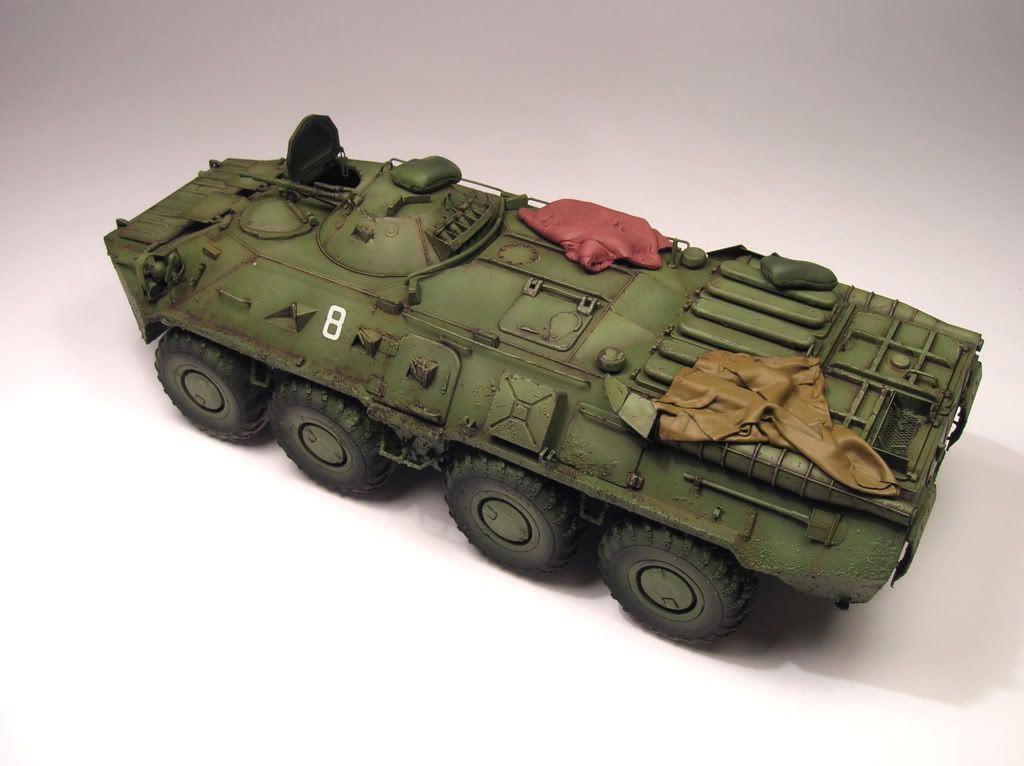
Finally I have finished the vehicle itself. I have tryed to capture the dirty look of these warmachines, seen on the archive photographs. The figures and base will be the next step.

csütörtök, február 18

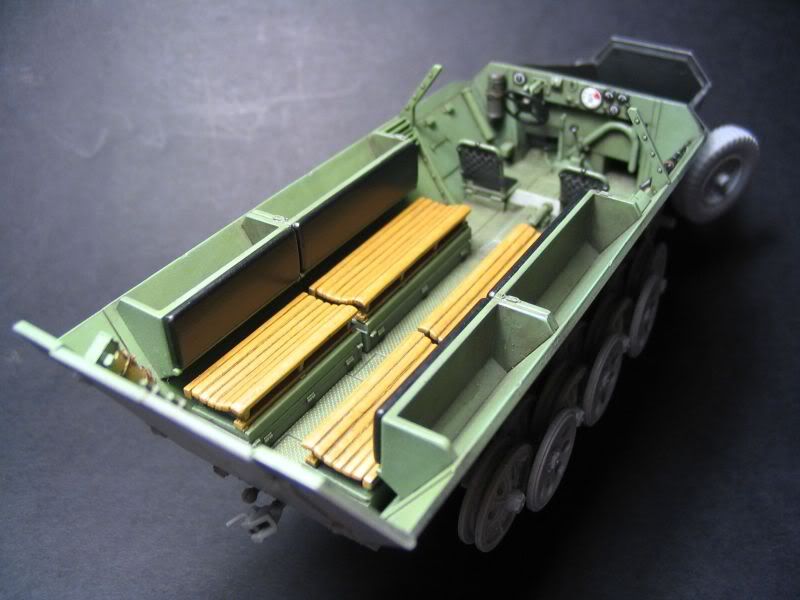
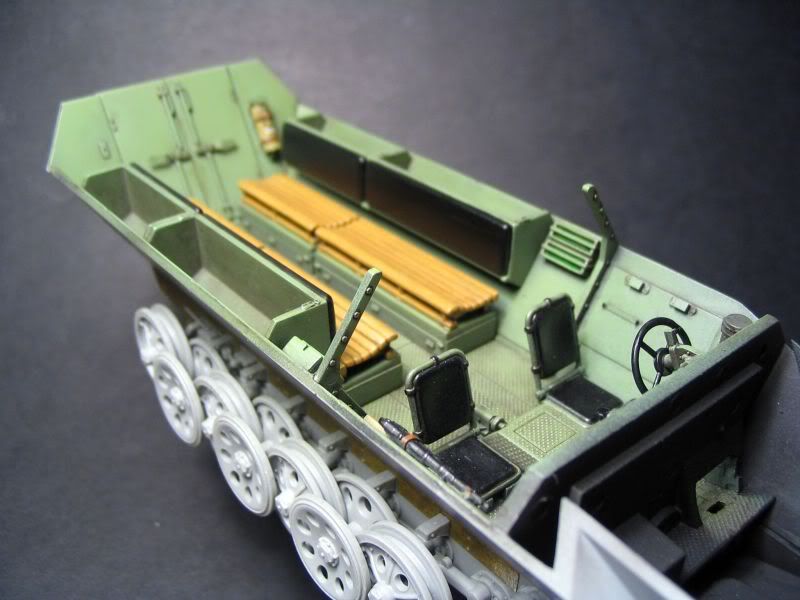
Sd.Kfz. 251/1 Ausf.D - part 5: Painting the interior

Here are 2 shots of the interior, i have worked on, in the last 2 weeks. My modelling speed is too slow in nowdays, so the finish line should be over the next competitions date :(
As You can see, I finished to paint the basecoat, and the other equipment of the vehicle. The next step will be the weathering, like the chip paint, add dirt onto the floor and for the seat, and make some wear on the leather surfaces. 

Oh yesss, the base color is green, not ordinary for german halftruck,isn't it?. In the last 2 months I have studied the late war Sd.kfz.251s, and I worked out the camo-map of the factory applied camouflage scheme. I was led to the conclusion, that these vehicle got green for base, so the interior got it too.


kedd, január 26

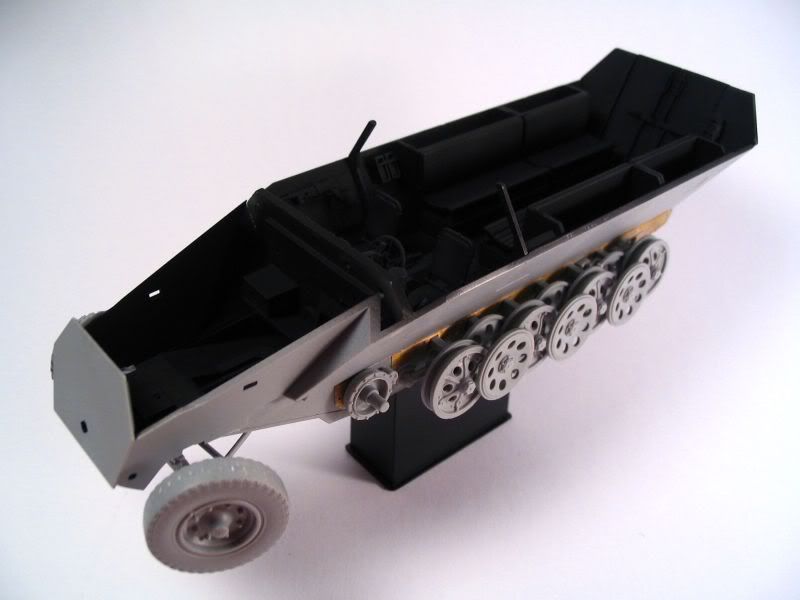
Sd.Kfz. 251/1 Ausf.D - part 4: Priming the interior and finished 'Hans'

As for the priming, I always use XF-1 flat black from Tamiya. I try to cover all the surfaces, specially the retired corners, which never get the basecoat and the weatherings, and i think its a good pre-shading technic as well.


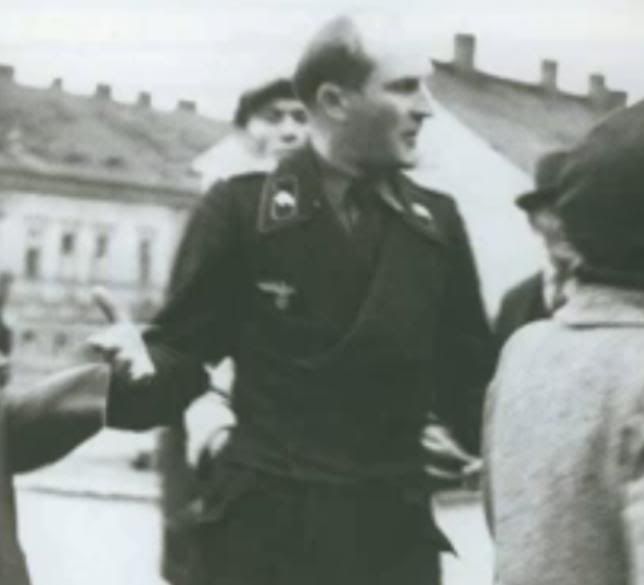
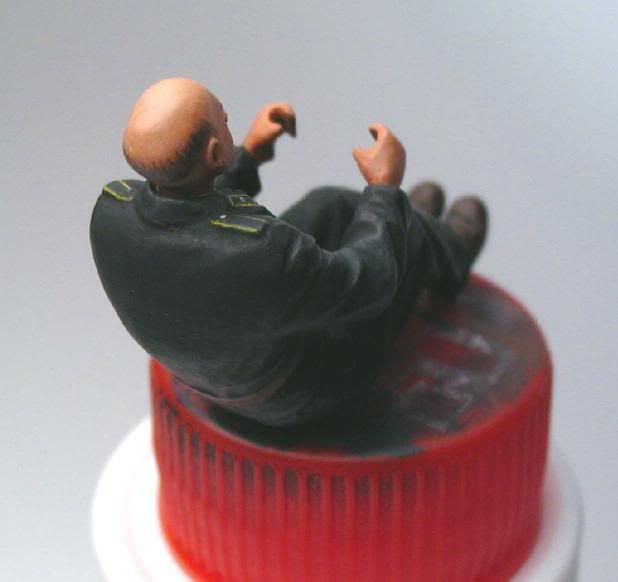
I surfed on the Internet last week and i found the real Hans! Yes, its true, he was almost bald, just a little hair on his scruff :) And how bizarr, this photo made in Czech,1945.


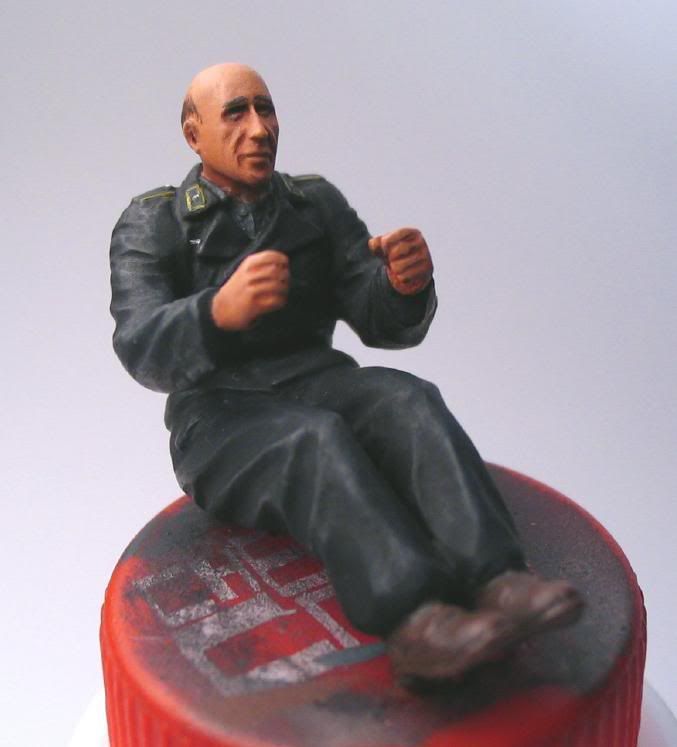
And here is the miniature Hans. I didn't paint too much details, he will be just a "supporting actor". The flesh-tones are darker than usual, cause he will sit into the cabin, so I calculated with the light conditions.


The next step is to paint the basecoat of the interior...I take a big breath...pics soon :)

kedd, január 19

Sd.Kfz. 234/2 PUMA (prologue)

As I was reading the Panzerwrecks 6. I have found a very good photo of a PUMA from the Ardennes campaigne. I decided that I will built it, and I will built it as much as accurate as I can.
Fortunately the book provides information about the unit that it belonged to. So it seem the vehicle was from the Pz.Aufkl.Abt.2 and formed part of  " Kampfgruppe von Böhm" during Wacht am Rhein.


This Puma has excellent details and challenges for a modeller. The Dragon kit with the aftermarket upgrade sets should do the trick, and of course some scratch build parts if neccessary.

I have started now the building, so pictures will follow shortly.

Cheers,
Aron

1000th pageviews

What a nice, round number! :)
Thanks everybody for the interest, we make models steadfastly!

SCMC members

vasárnap, január 17

BTR-80 Battle of Grozny 1999-2000 (part 2)

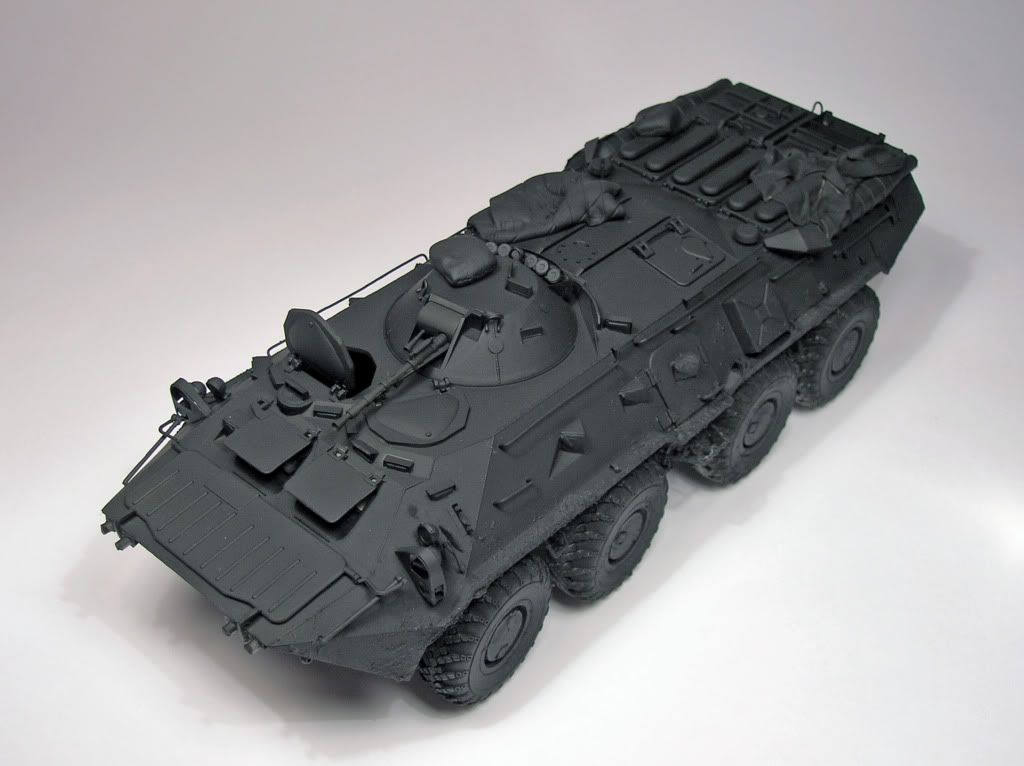
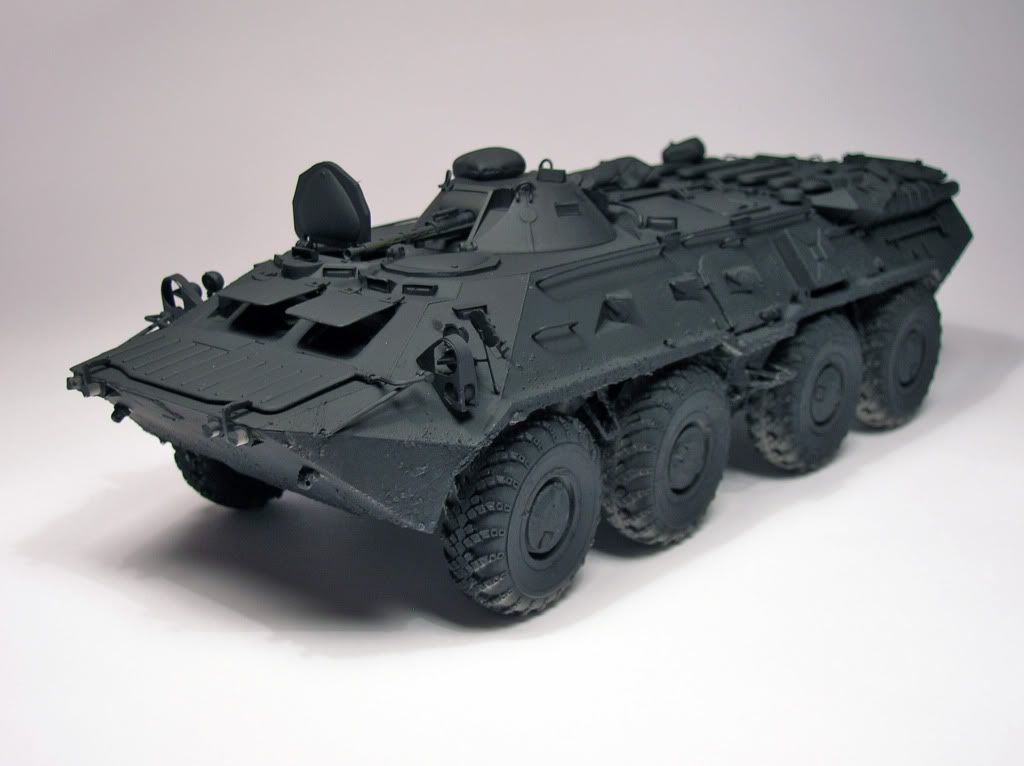
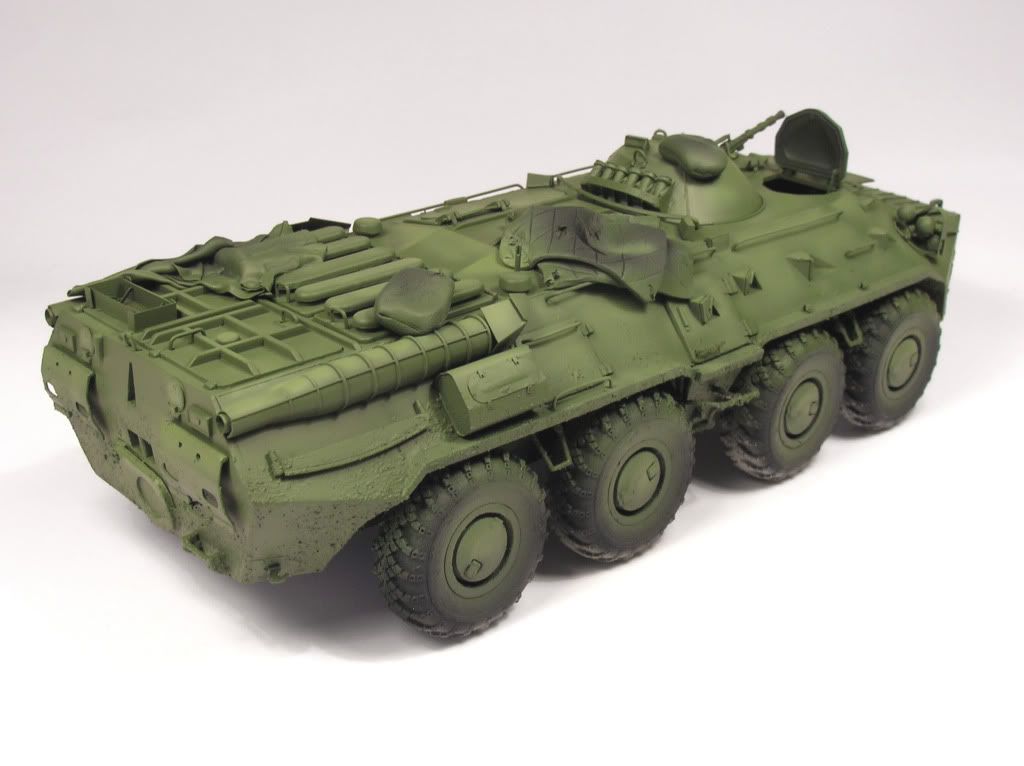
I began painting. I have started with primeing the whole vehicle to flat black. The black will help to create shadows in the later stage. I always use Tamiya or Gunze acrylics, because they are create a strong base. I do not like traditional primers, so I don't use tham.


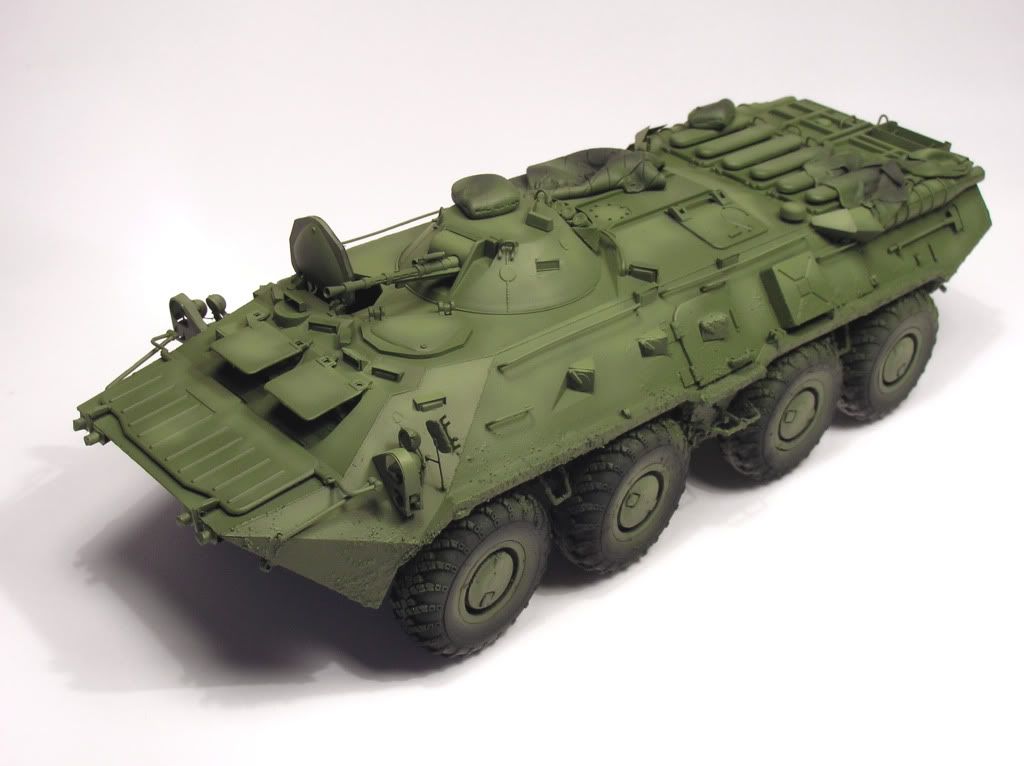
After the primeing I have painted the BTR with valejo acrylics. I used some minor modulation to break the monotonity of the plain green color.


After the modulation I have added the filters with artist oils. And the chipped paint with valejo ss camo black brown.


Next phase will be the painting of the stowage and the mud. Later the figures