kedd, január 3
hétfő, március 21
hétfő, március 14
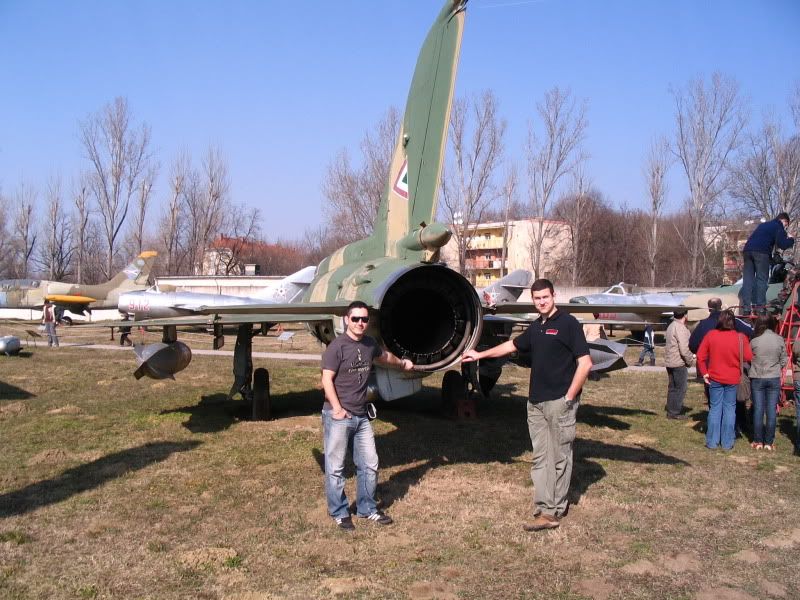
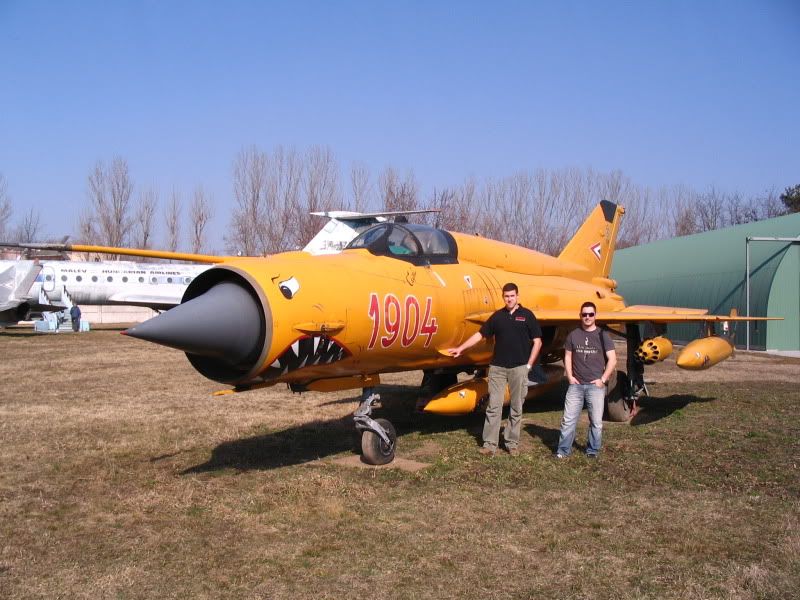
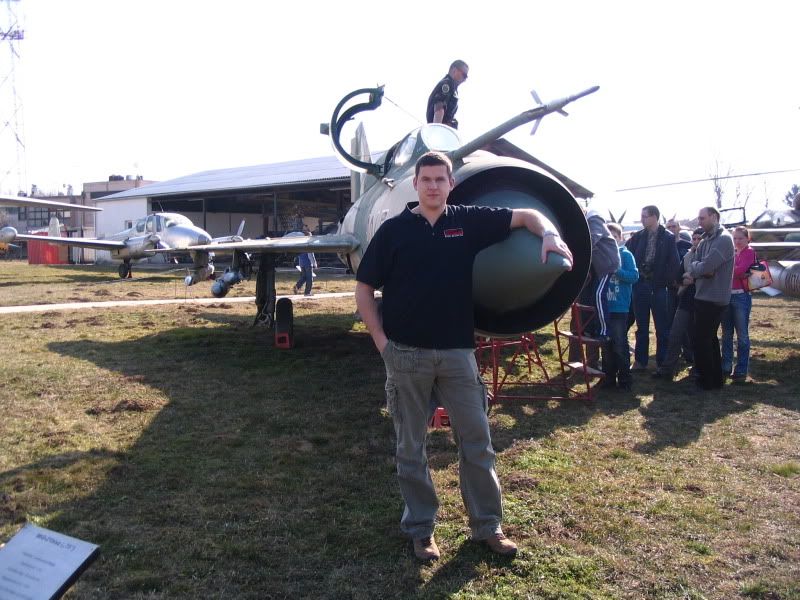
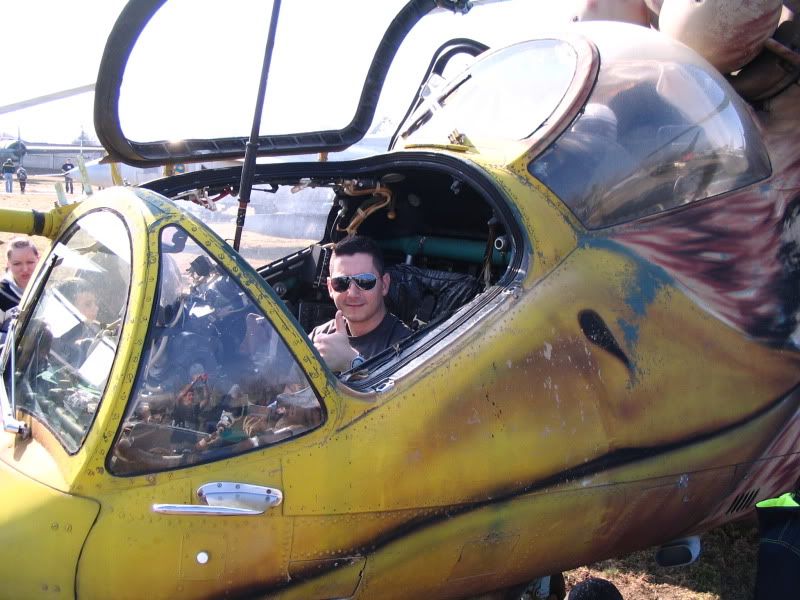
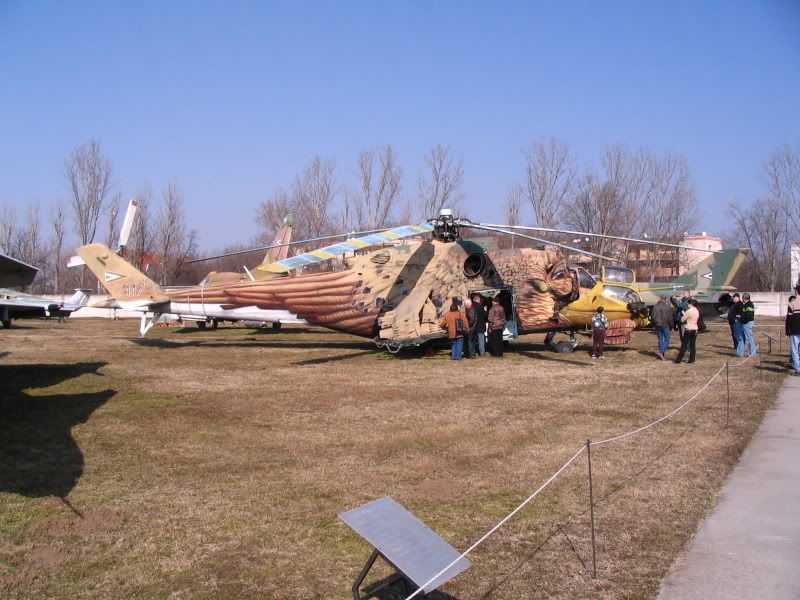
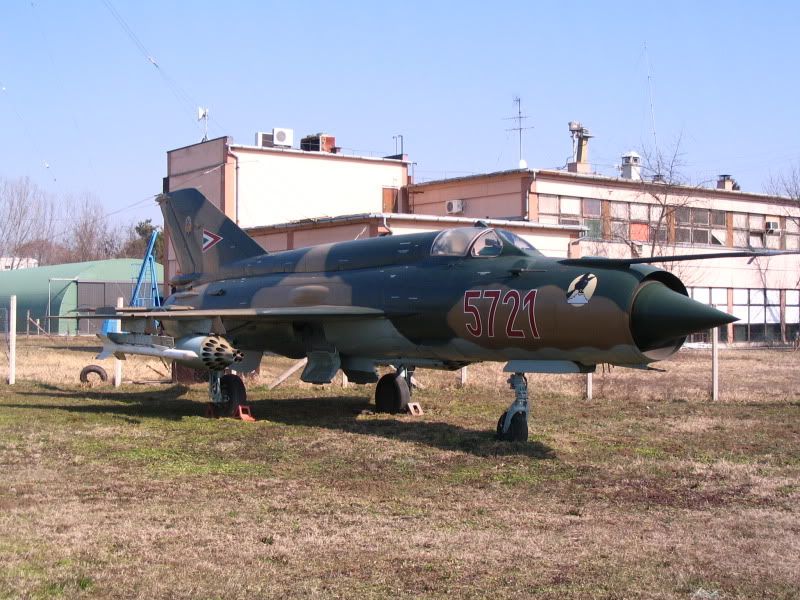
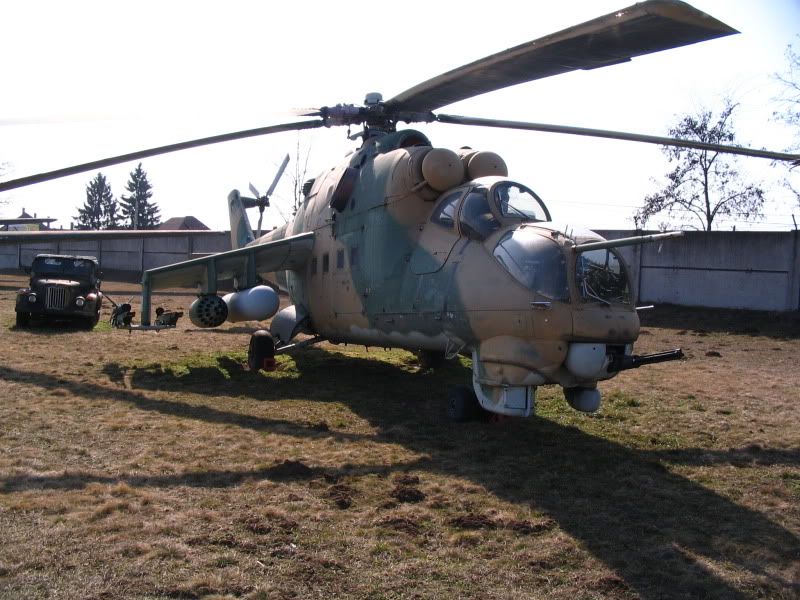
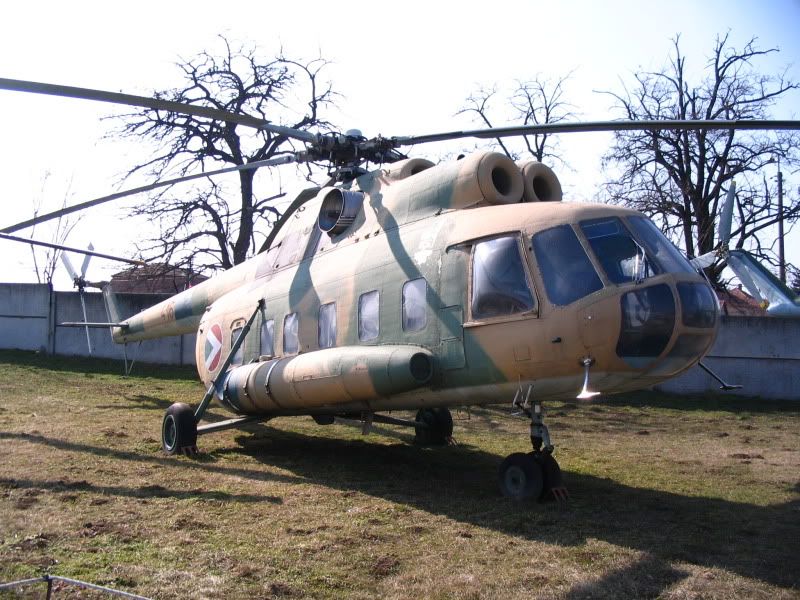
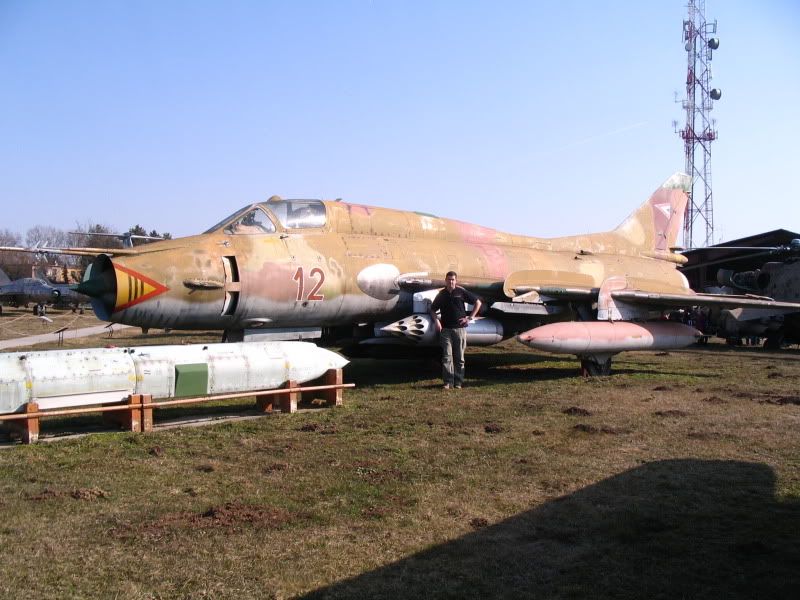
Szolnok Aviation Museum
2 brave clubmember -Janos & Laszlo- visited the Szolnok Aviation Museum on the last weekend. Here are some photos about us and the russian friends :)
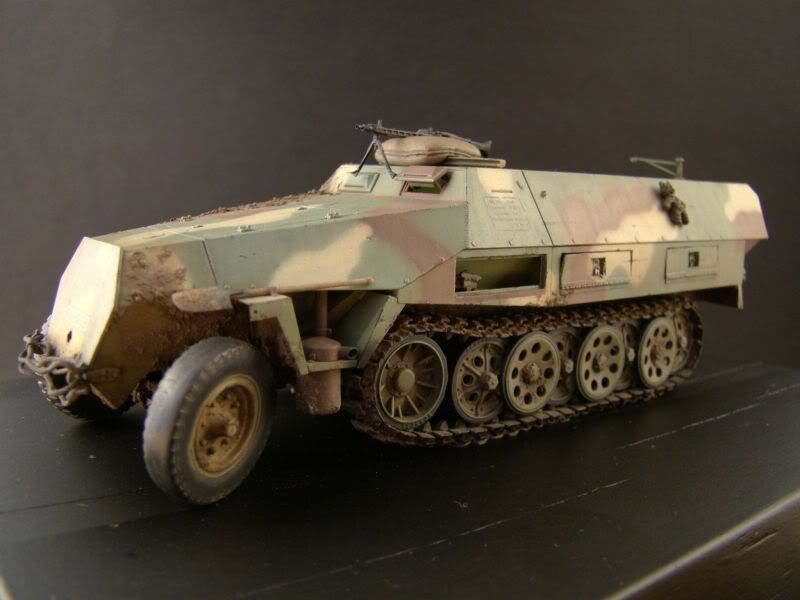
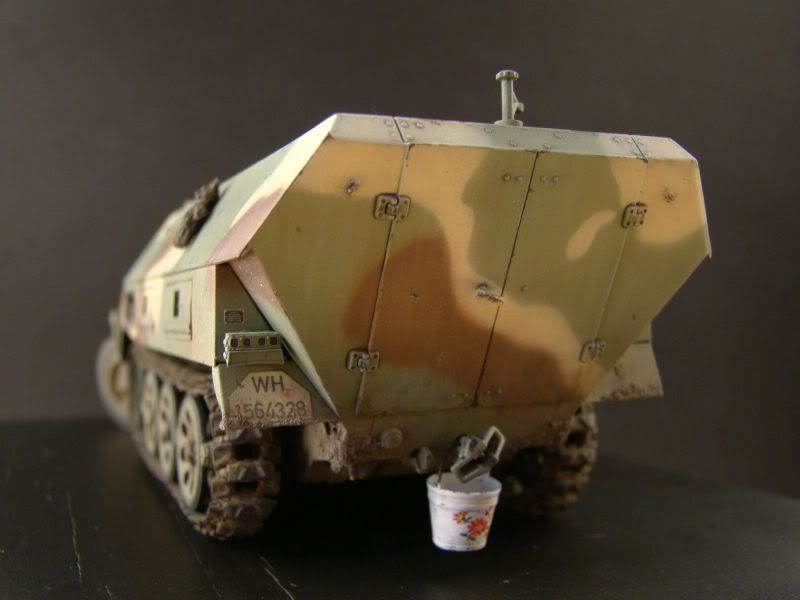
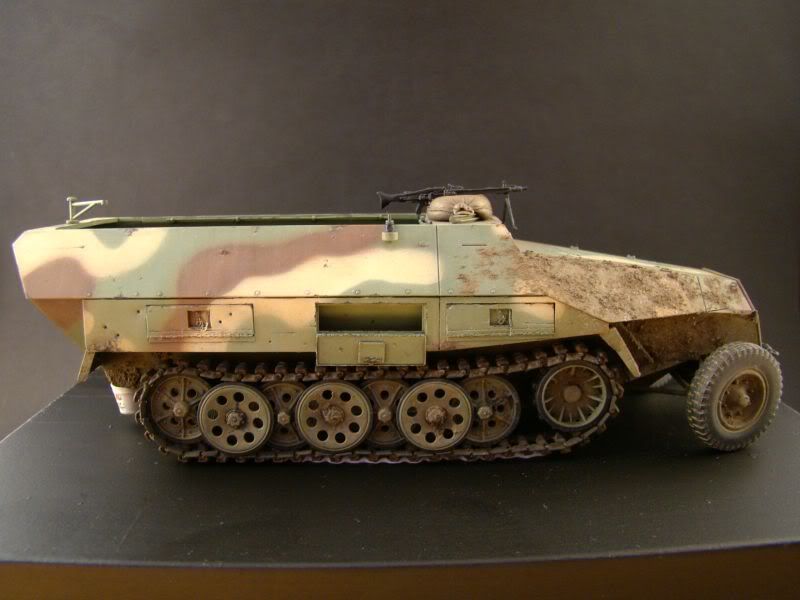
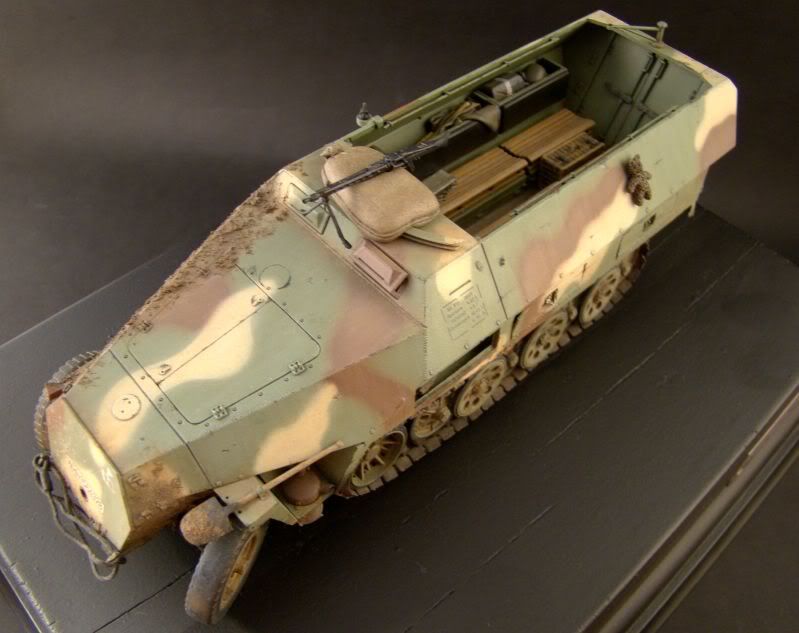
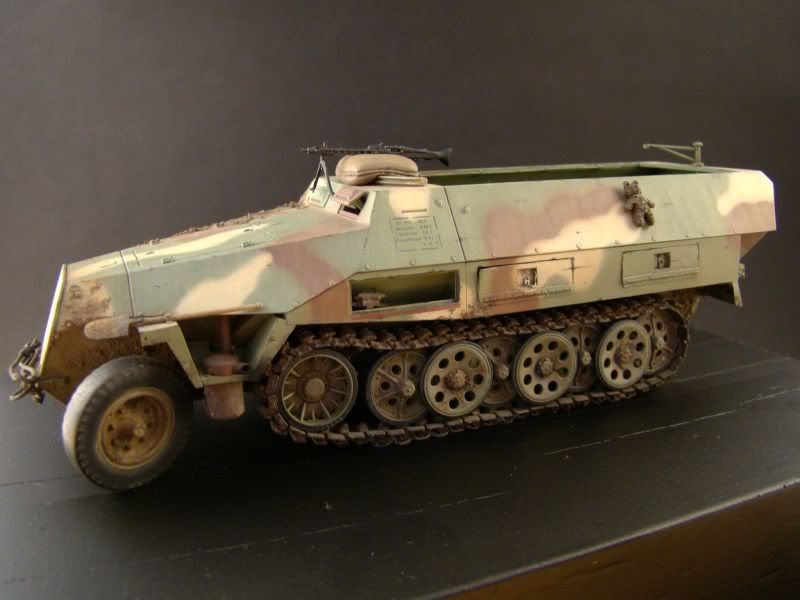
Sd.Kfz. 251/1 Ausf.D - part 13: I call it DONE.
hétfő, március 7
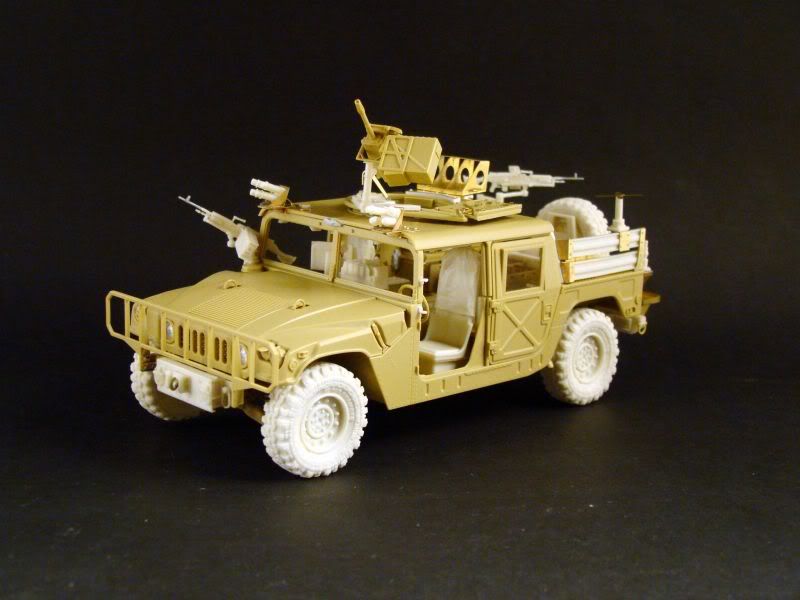
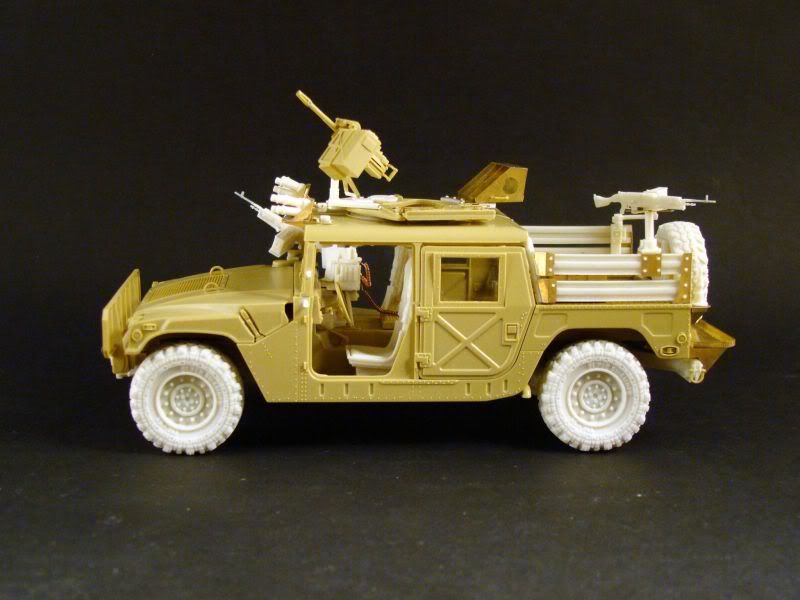
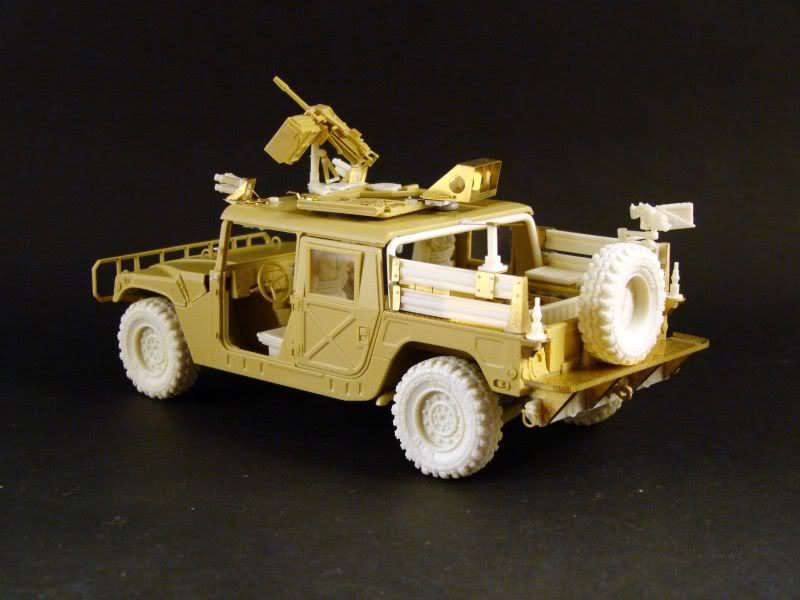
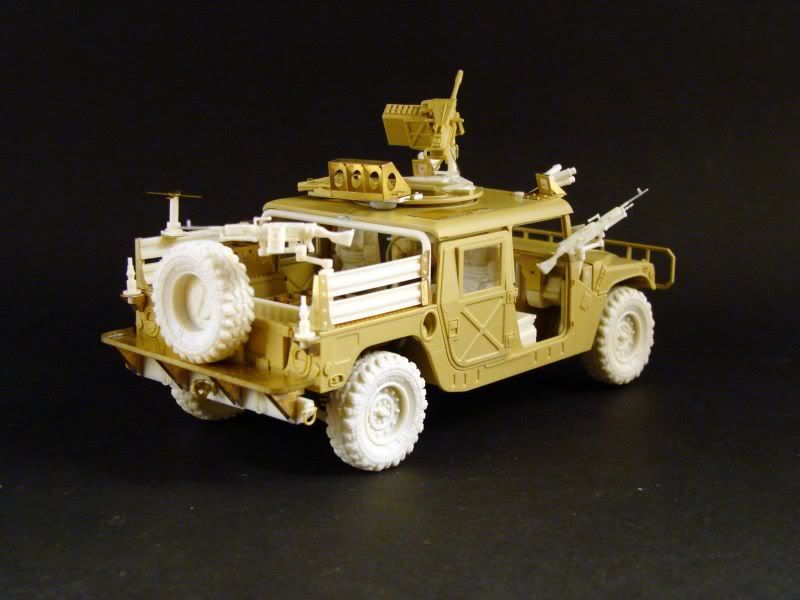
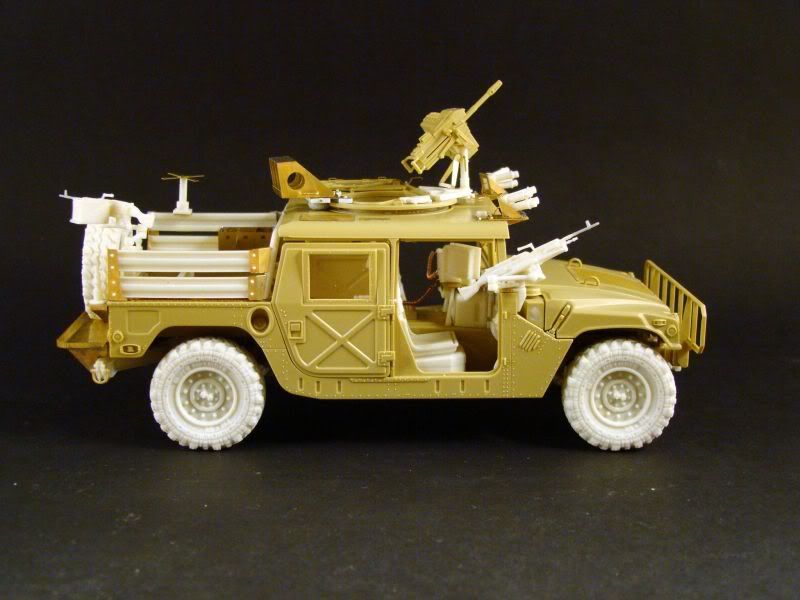
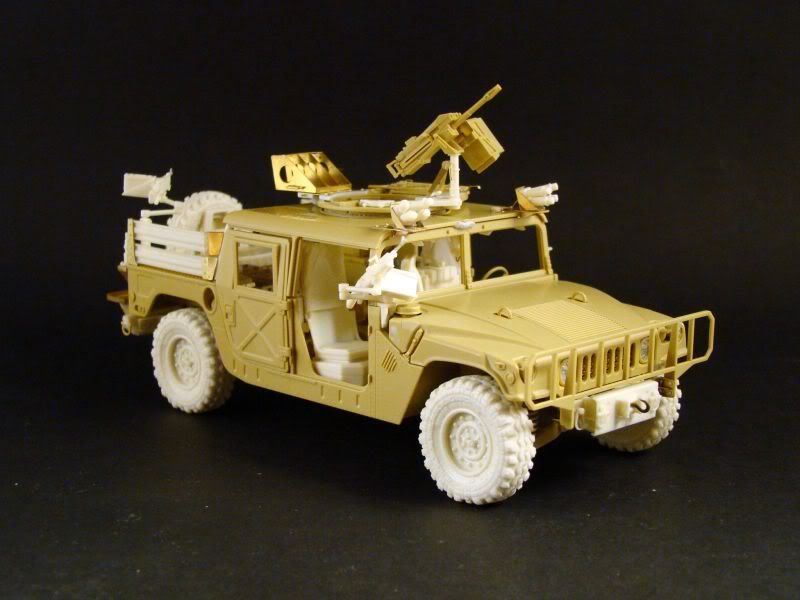
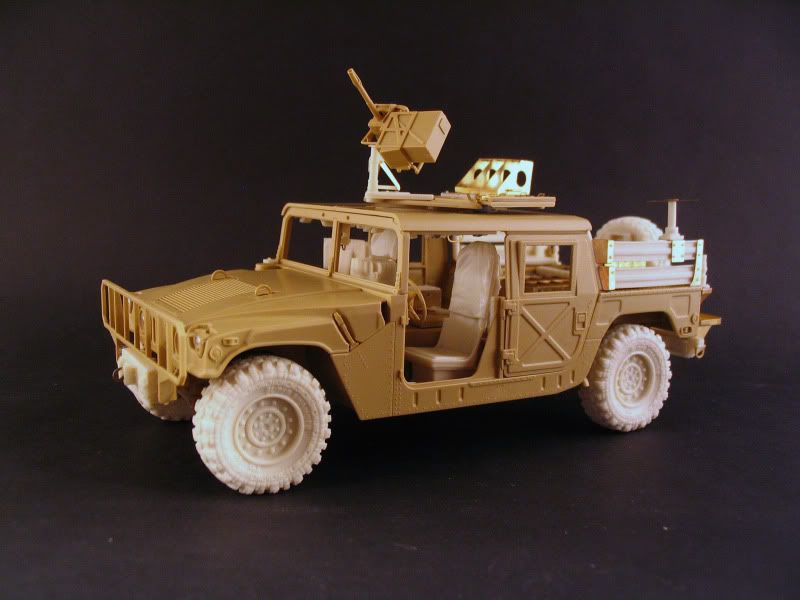
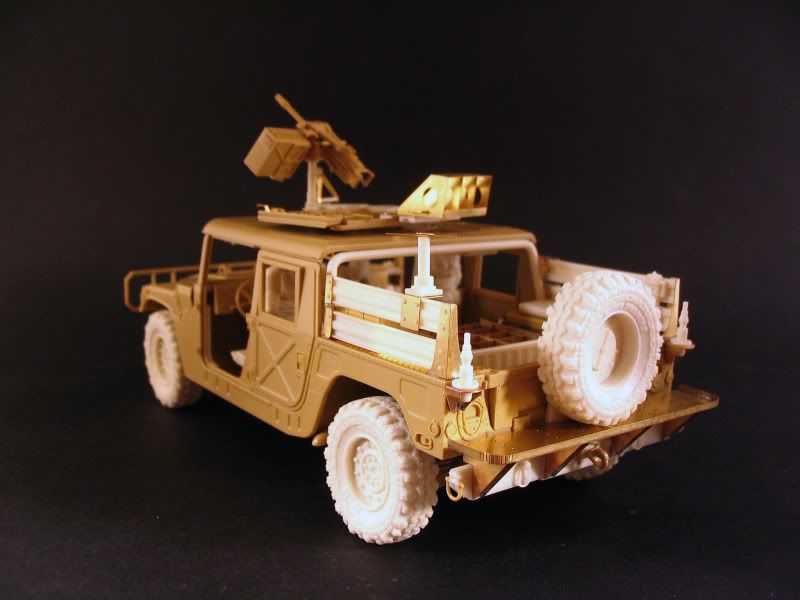
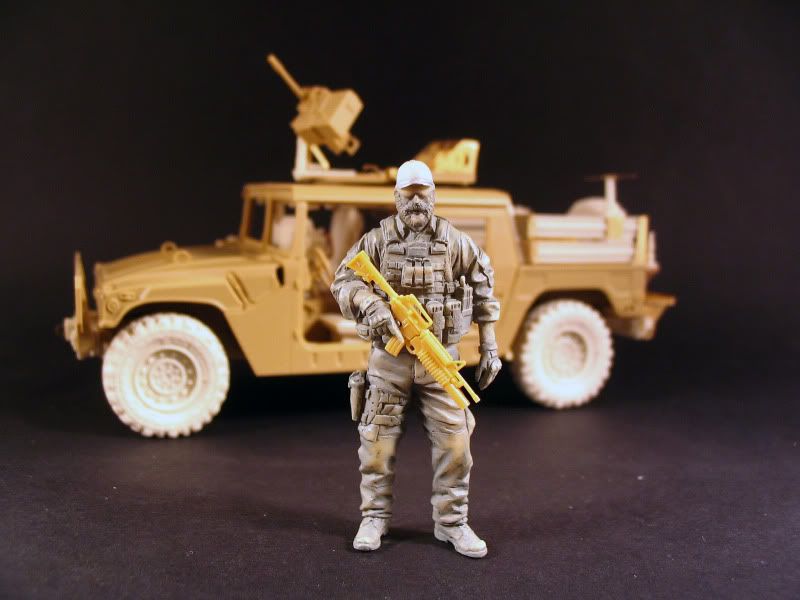
U.S. Special Force DUMVEE - build: 95%
In the last 2 months, I try to finish the building of the DUMVEE. It is almost succeed, just the supportive weapons are missing. I have to say, the Legend conversion set is simply amazing, with full of details and well precision for an advanced modeller. Highly recommended!
Here are a few pics, how the model looks now:
hétfő, december 27
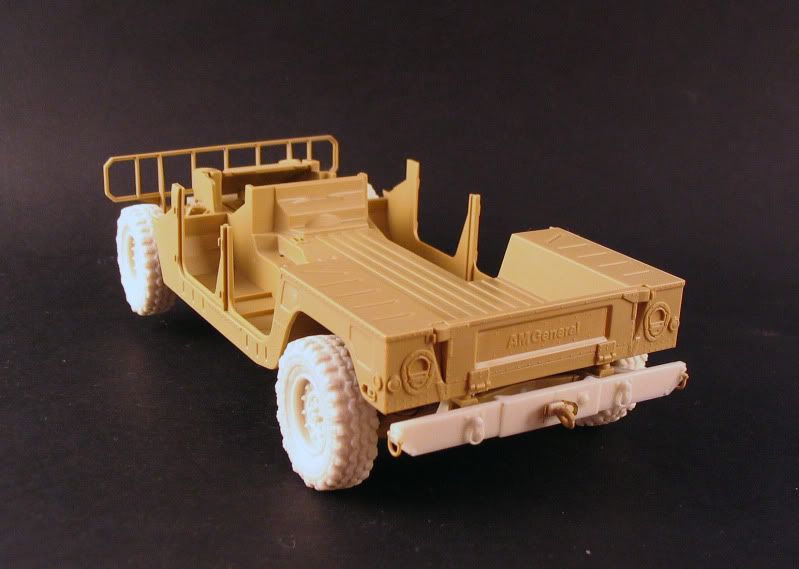
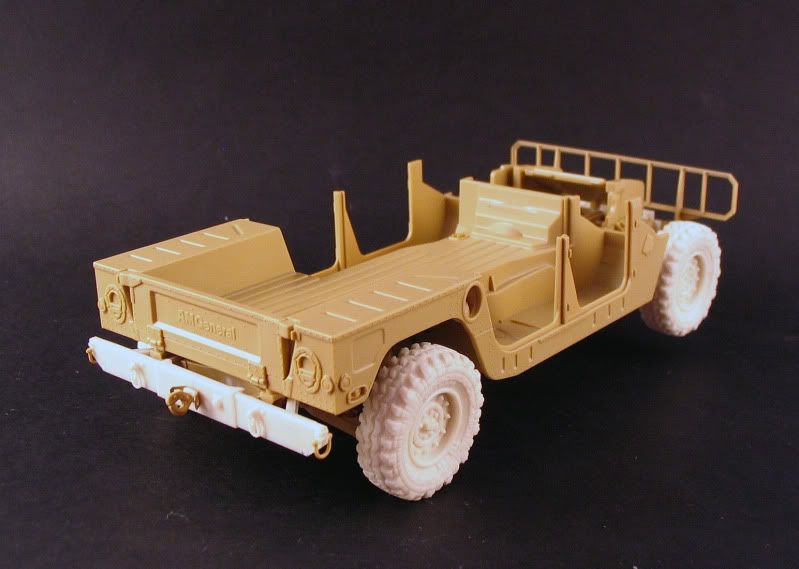
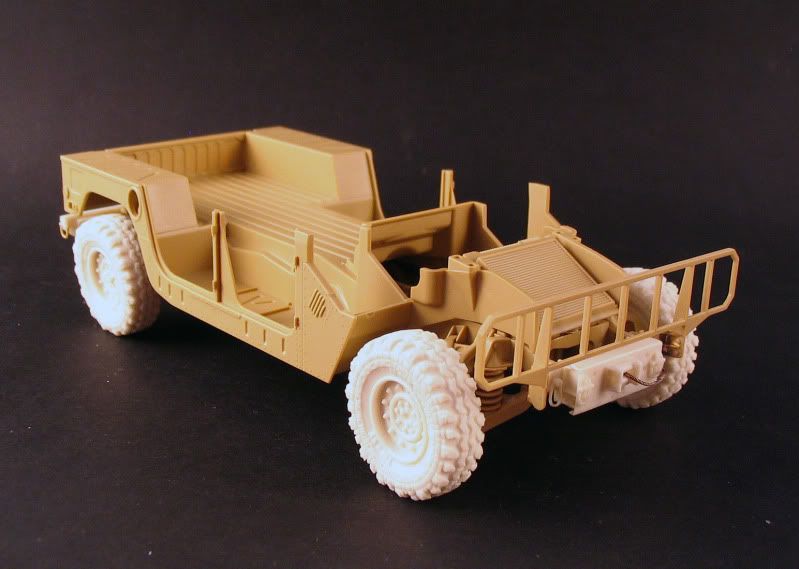
U.S. Special Force DUMVEE - Chassis
First of all the SCMC memebers wish You a Merry Xmas and a Happy New Year!
Well, my SF operator ask a a DUMVEE for christmas, and i was delighted to hear that ;)
péntek, december 10
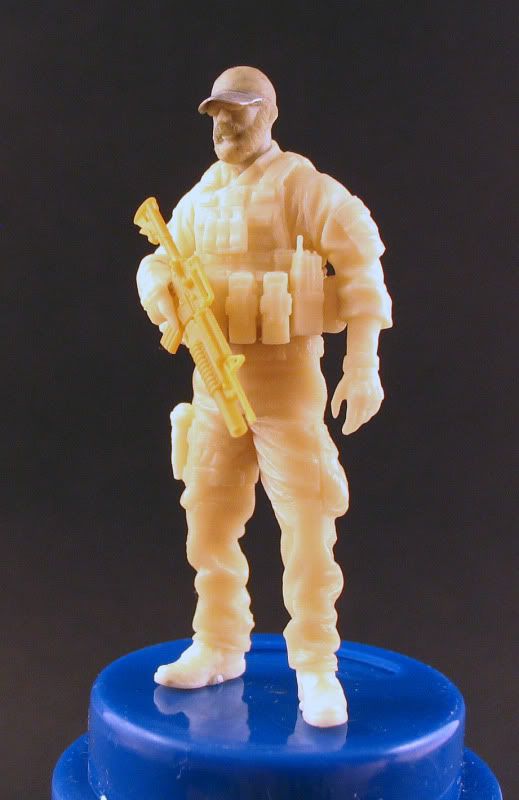
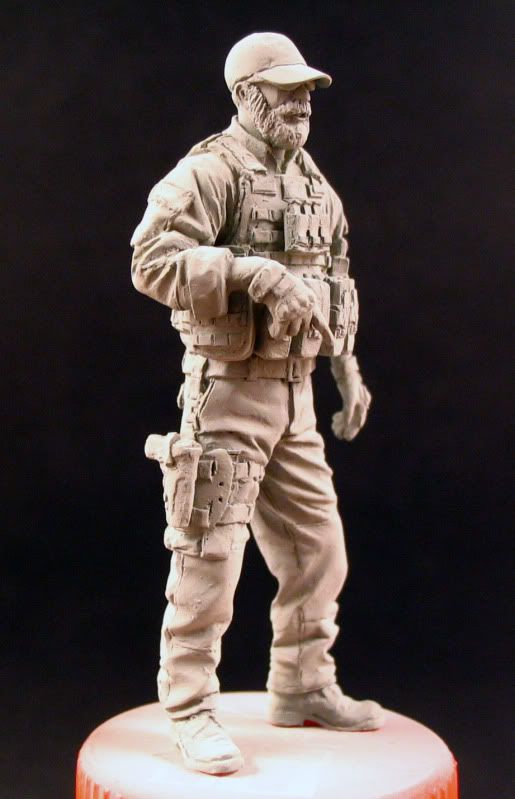
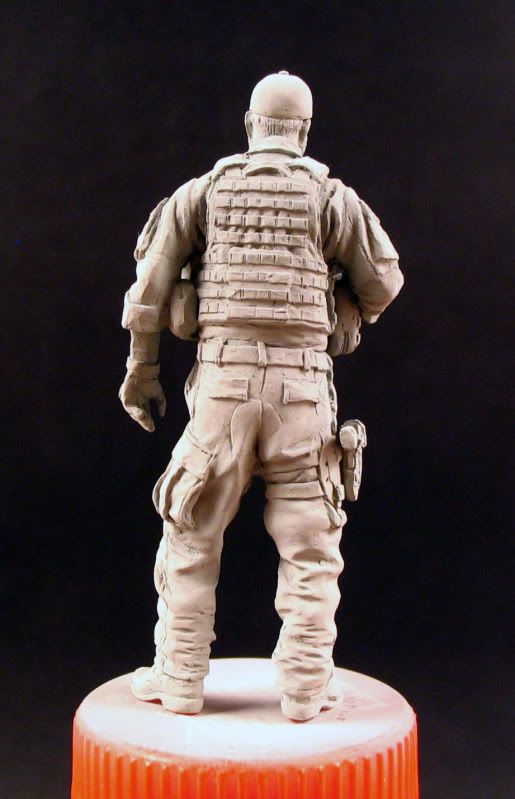
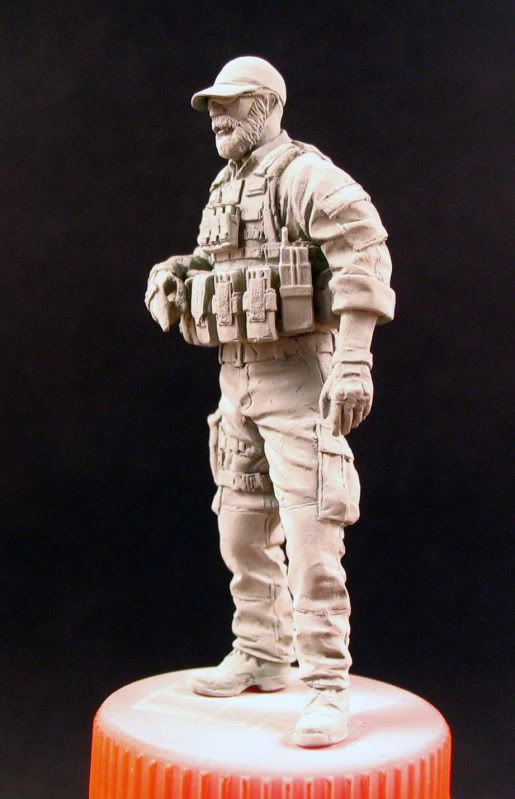
U.S. Special Force Figure #1 - build and basecoat
After some WW2 theme i felt i have to make something different. For the new project, i choose Special Force (SF) and a very interesting battlefield, Afghanistan. I plan to make a litttle vignette, but i have to choose one of my number of ideas.
BTW, here is the first figure i am working on. This kit is the Airborne Miniature's 3502 U.S.NAVY SEAL/SF. I remade an old Verlinden head, cause the most popular headwear is the baseball cap. So i sculpt a full cap, beard, and sunglasses for my warrior. That was my first try to scuplt something on a figure, and i have to say i love it! Next time i try to make a complete figure ;)
péntek, november 19
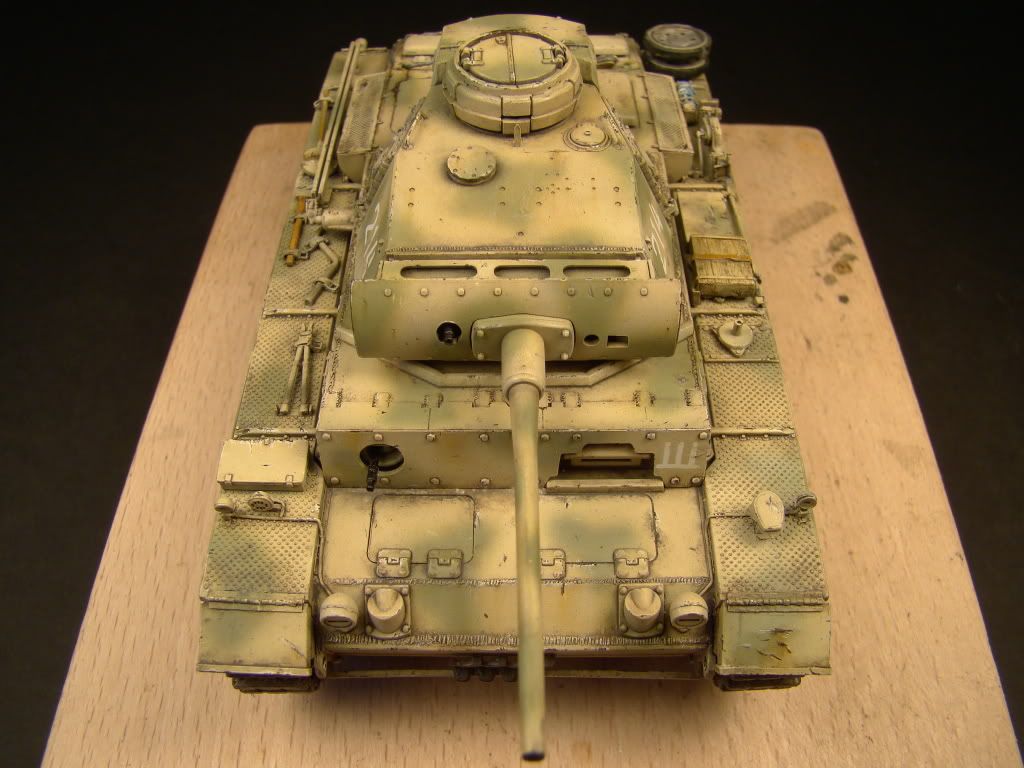
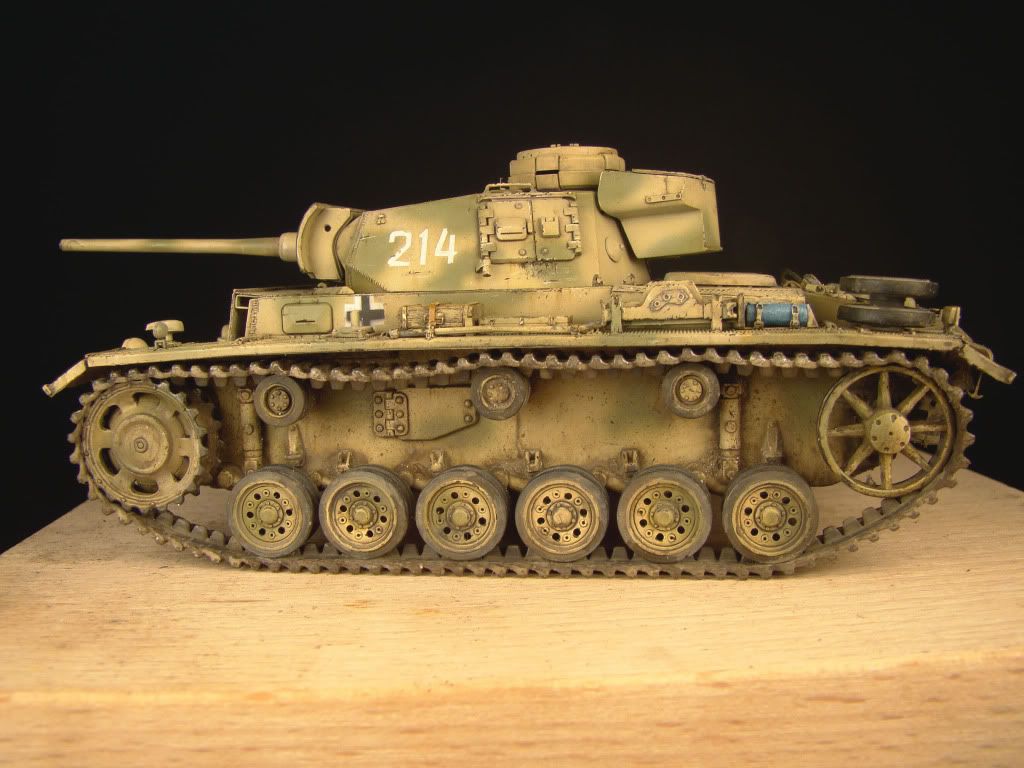
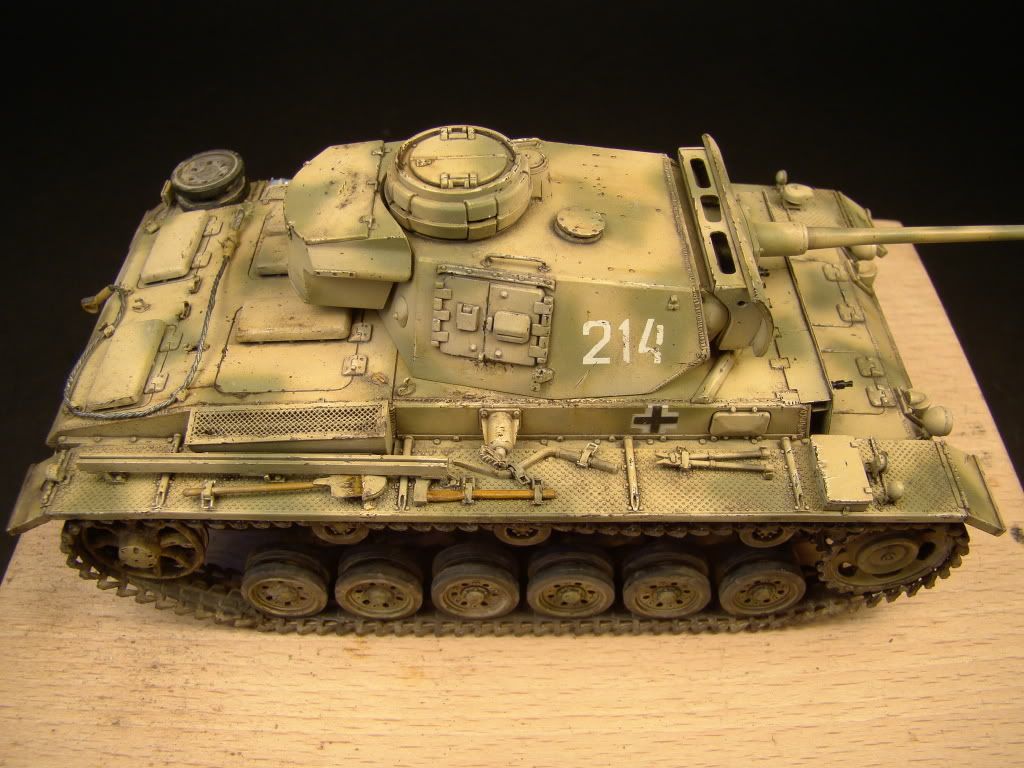
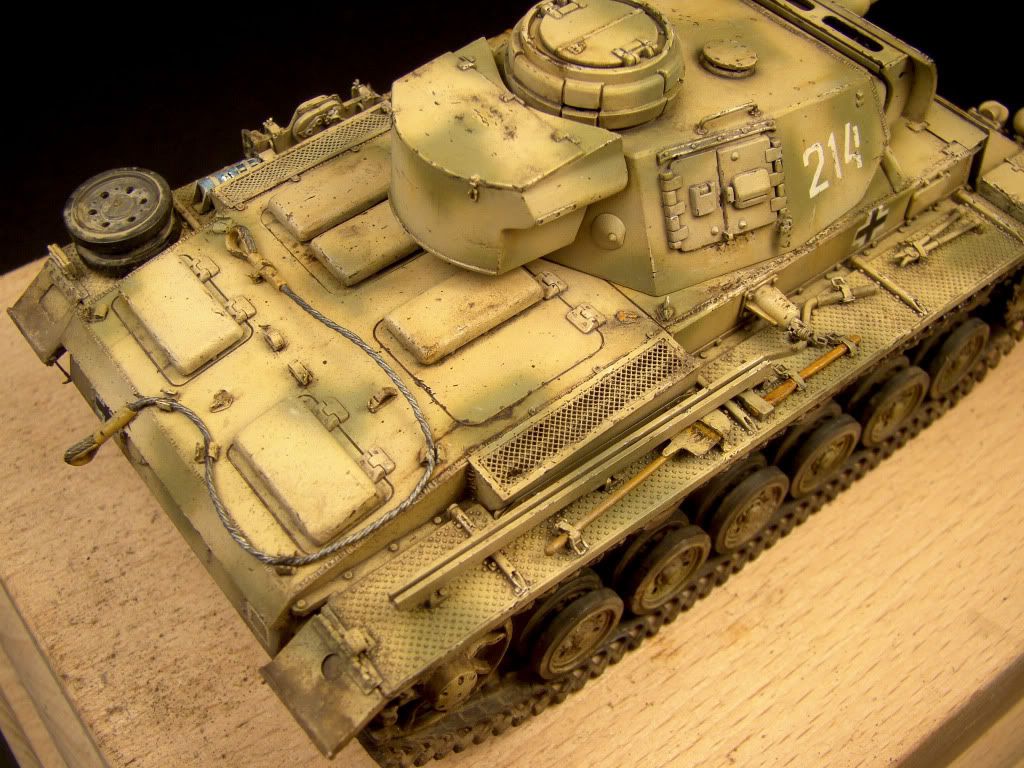
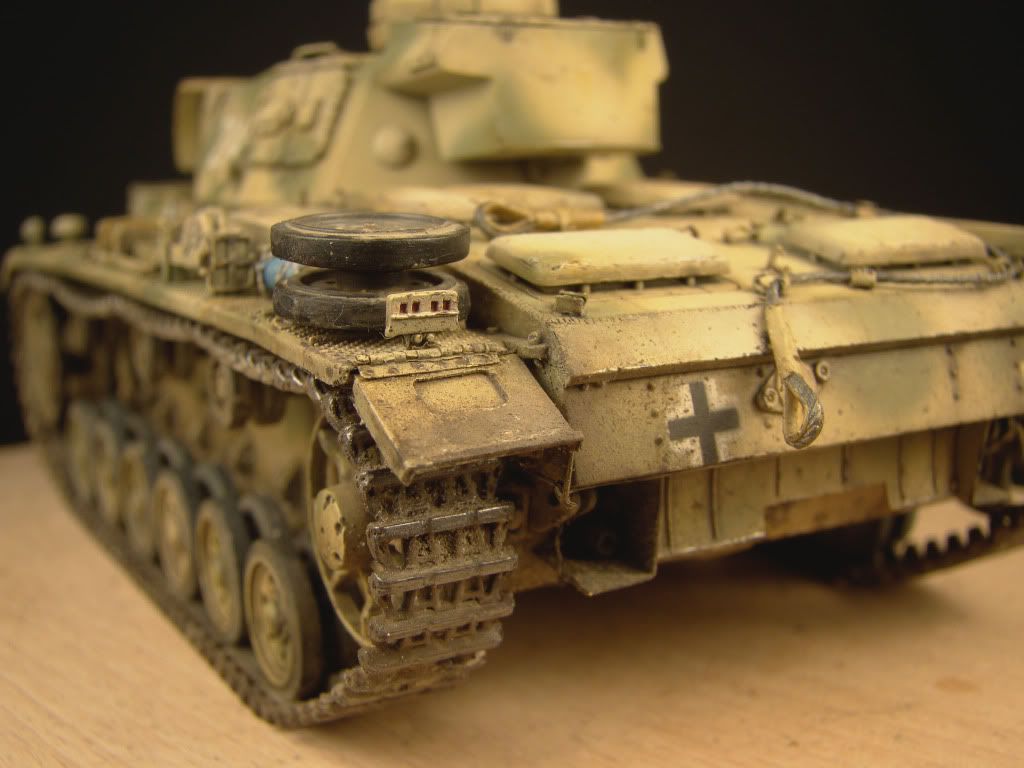
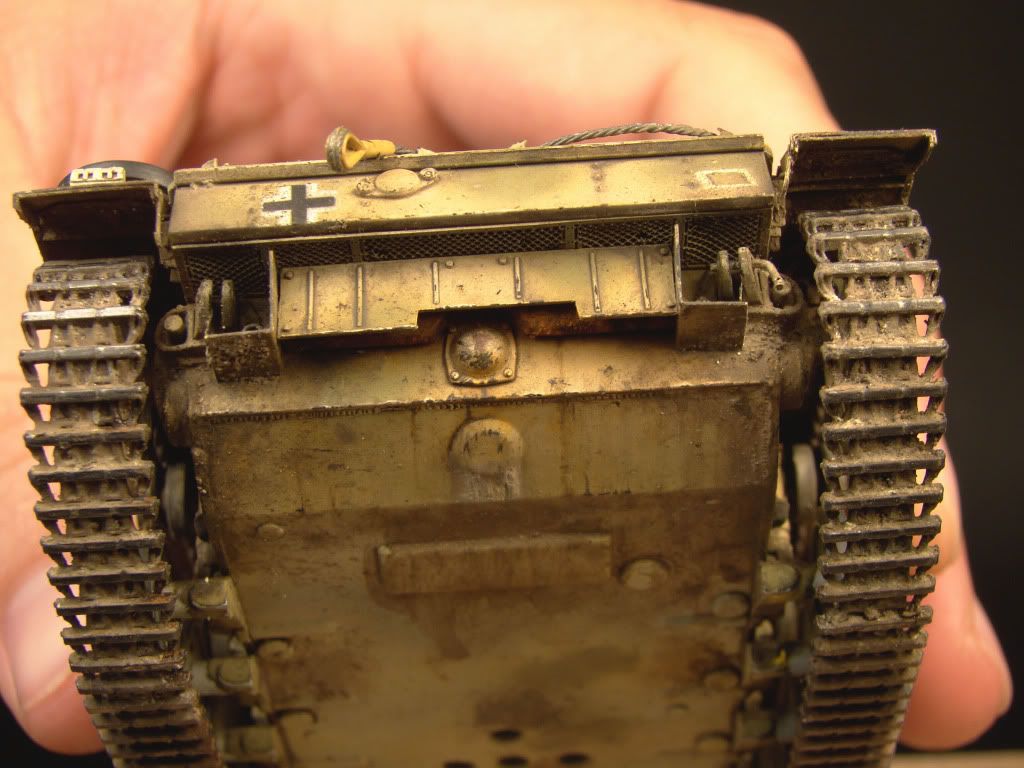
Pz III/L painting finished
I have finished the painting in 95 %.
The painting has been continued with signals (painted) and numbers (dry decals) applying. I have made the dry brushing on the basic colour with buff as on mending with yellow. I always use artist oils for dry brushing.
( I have never used acryl for dry brushing) When the oils dried, I have mixed two colours for chafing. Either is brighter than basic colour (nearly white), the other is dark (black and brown). I wouldn't have like to make an very rusty vehicle. Therefore I have painted chafing stains wherever was necessary, for example manholes, edges of armor and plates. This has been made with thined acryl paint. With some chafings I have made rusty runoff with oil and dry brushing technic. After all I have started weathering's makings. I used artist oils in tones of brown, MIG pigments (in light and dark tones) and Neutral Wash. I have applied the pigments in pits and corner thined by MIG thiner. Ere it dried fully, I had impregnated with pigment fixer. The upswings have been made by help of brush, artist oil, pigments and airbrush. I have plunged the brush in the thined mix of pigments and oils and blowed out with airbrush on armour. This technic has already known in the face of others. After drying I have applied the track. I have sweated quite a lot, because it hasn't like to set in his tidy place. This piece has got dark tone pigments that has been impregnated with pigment fixer.
This state is presently.
Bye!
szombat, október 9
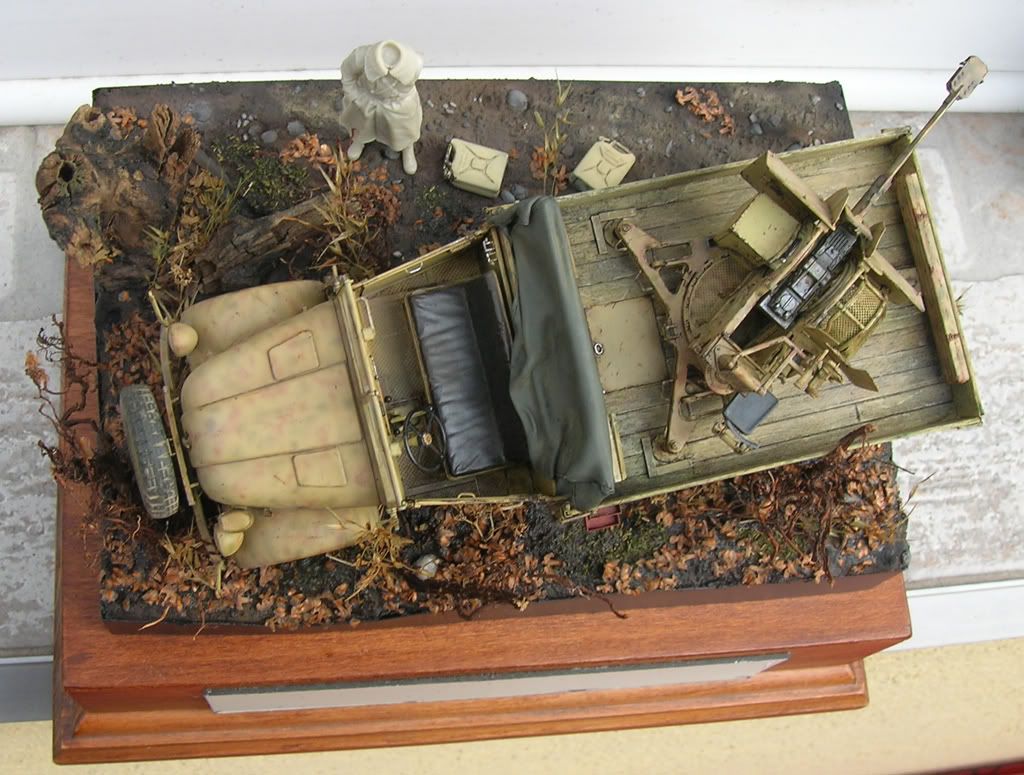
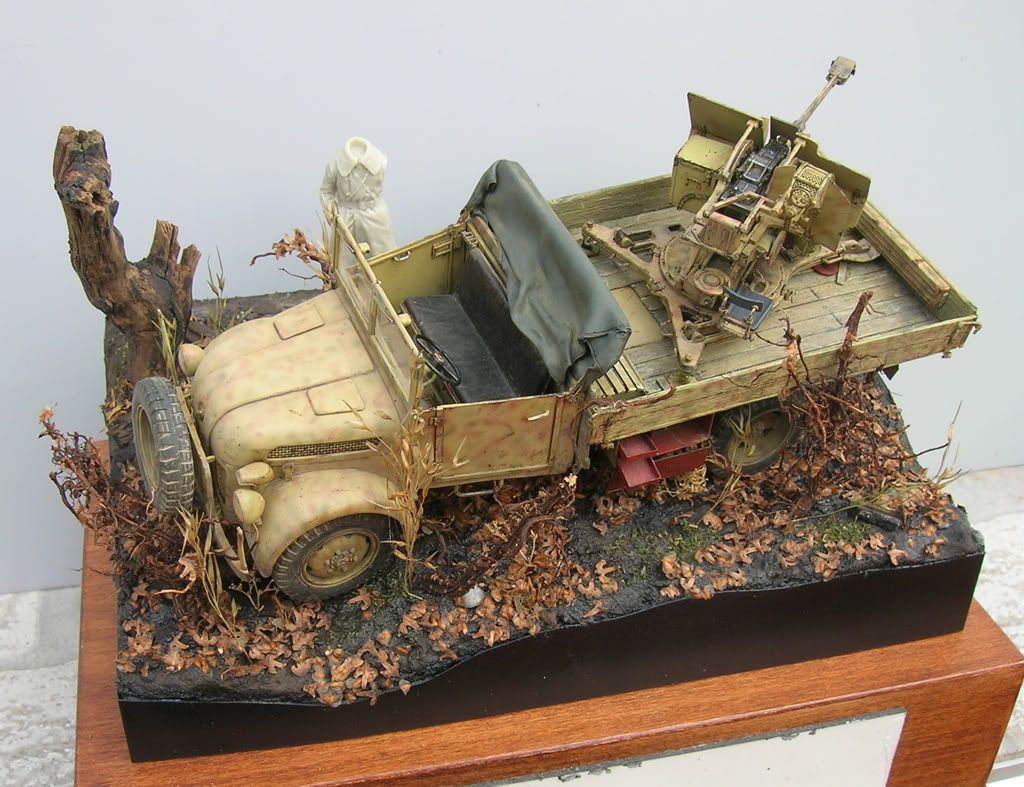
Jaboschreck on Steyr 2000 A building 99% finished
I have finished the bulding phase of my Jaboschreck. It was fun to build it, and I have learned a lot from scratchbuilding during this project. Next time I will do some things different. for example Wood not always a good material. In case of vehicles maybe a bit better to use styrol sheet for this purpose. But I think it is a matter of personal taste.
I decided to build the folding roof wich was mentioned in Thomas Anderson's article (wich my main reference was). He mentions in the part of the original vehicle, but finaly he did not built it to his model. And as I noticed the Leadwarrior conversion kit was also based on his model, so it lacks the roof as well.
I have made the frame from evergreen rods, and some parts from tha Tamiya kit, and the tarp was made from epoxy putty.
Many parts are not glued togeather yet because It will be easyer to paint tham seperate.
After I took the pictures I have noticed that I bluetac-ed the windshield backwards, but I will take atention to this when it will be glued permanent.
Now comes the painting phase, what I like tho most!!
regards
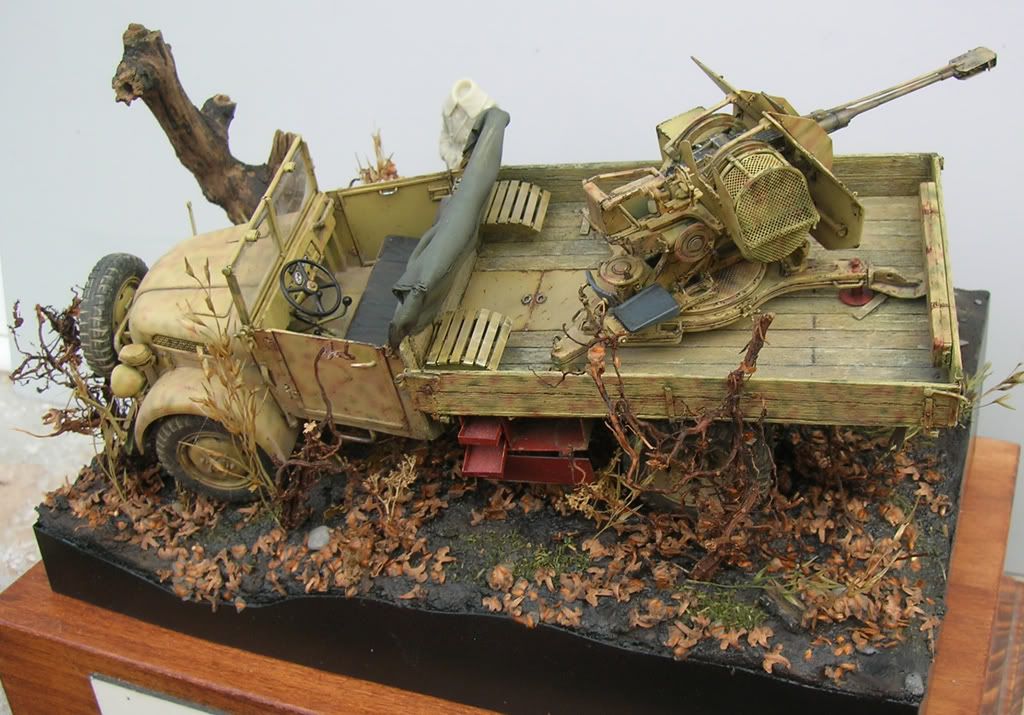
I decided to build the folding roof wich was mentioned in Thomas Anderson's article (wich my main reference was). He mentions in the part of the original vehicle, but finaly he did not built it to his model. And as I noticed the Leadwarrior conversion kit was also based on his model, so it lacks the roof as well.
I have made the frame from evergreen rods, and some parts from tha Tamiya kit, and the tarp was made from epoxy putty.
Many parts are not glued togeather yet because It will be easyer to paint tham seperate.
After I took the pictures I have noticed that I bluetac-ed the windshield backwards, but I will take atention to this when it will be glued permanent.
Now comes the painting phase, what I like tho most!!
regards
Címkék:
Aron Vrbovszki
Feliratkozás:
Bejegyzések (Atom)