A következő címkéjű bejegyzések mutatása: Janos Illes. Összes bejegyzés megjelenítése

szombat, június 27

Painted JagdPanter - 1st. Steps

I could start the painting a little bit later because I had to revise the built J.P.
I took illustrations of some publications as basis but those're incorrect. The built version has never been produced.
Therefore I chose the hard edge painted JPs and gathered the available pictures and known information. Based on these about 10 pcs were produced with this scheme in December 1944, most likely by MBA. Because of their pieces I think this is an intresting theme.
As you can see I painted the main pattern with 3 colours, and there are some chafing on the armour plates. In the next weeks I'm going to make further chipping and weathering on the JP.
   I welcome the comments.

hétfő, február 2

The Big Cat

Hi all,
 
Some years ago this cat was built up but it foundered in the painting process. In last weeks I found some interesting pictures about it and these made me motivated to start again this project.
I didn't build up this Cat based on a concrete photo rather in an imaginative situation with a realistic painting, somewhere in west Germany, March of 1945.
Here you can see the result of building phase.


The painting will be soon...

péntek, március 7

GAZ-66 fire-engine

Hello all,

After a little pause I check in again.
I have a new collective project with my friend, Áron. He would like to build a vignette about an apocalyptic theme - S.T.A.L.K.E.R.- and he asked me to build a typical russian vehicle from '70-80 years... If I have spirit... So I have built a GAZ66 from old russian kit. The theme is an abandoned and ruined place with a fire- engine and a figure. I had to modify the basic kit and I could make it based on pictures.
The paintwork and building of vignette are Áron's task so he will continue this grande project.
You can see here the result and I welcome your comments.


kedd, október 16

DKW-350 with a German postilion

   Dear Visitors,

We have been making small vignette with my friend Béla for a few months.

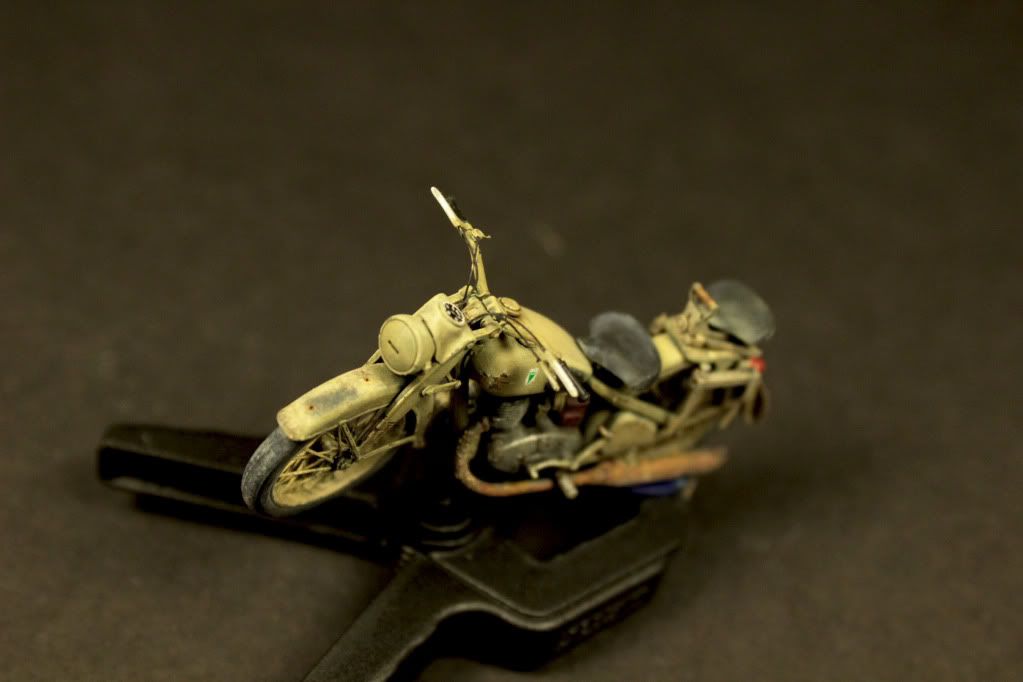
My task was the building and the painting of the motorbike. Béla will making and painting a figure from The Body in next mounths.
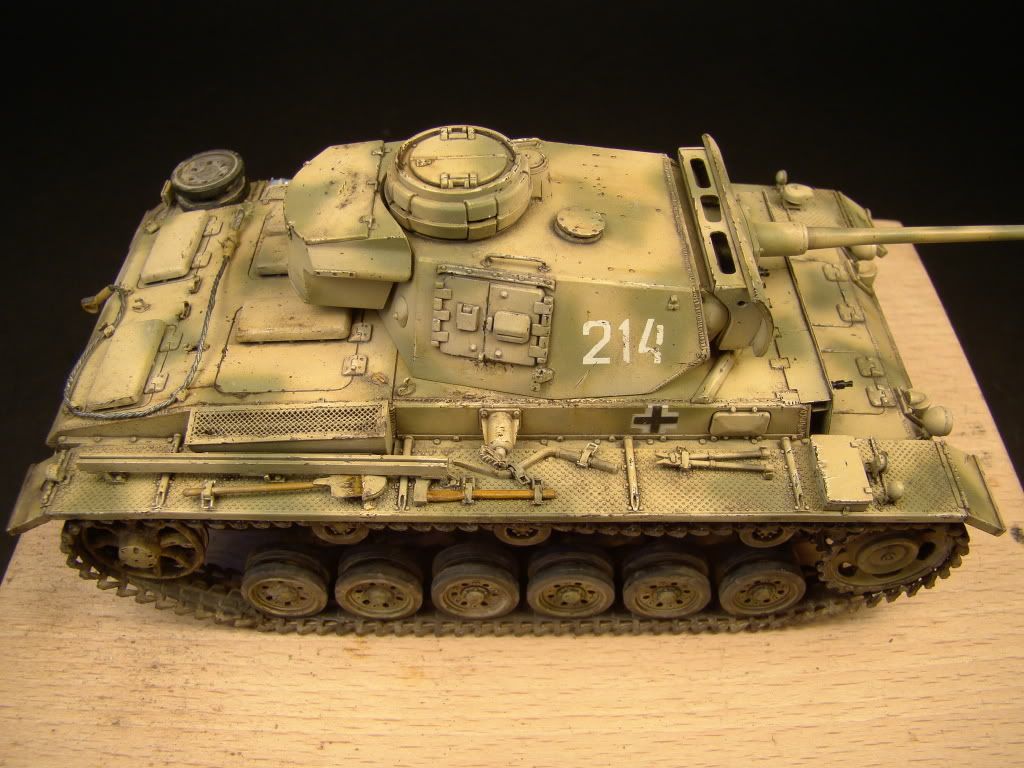
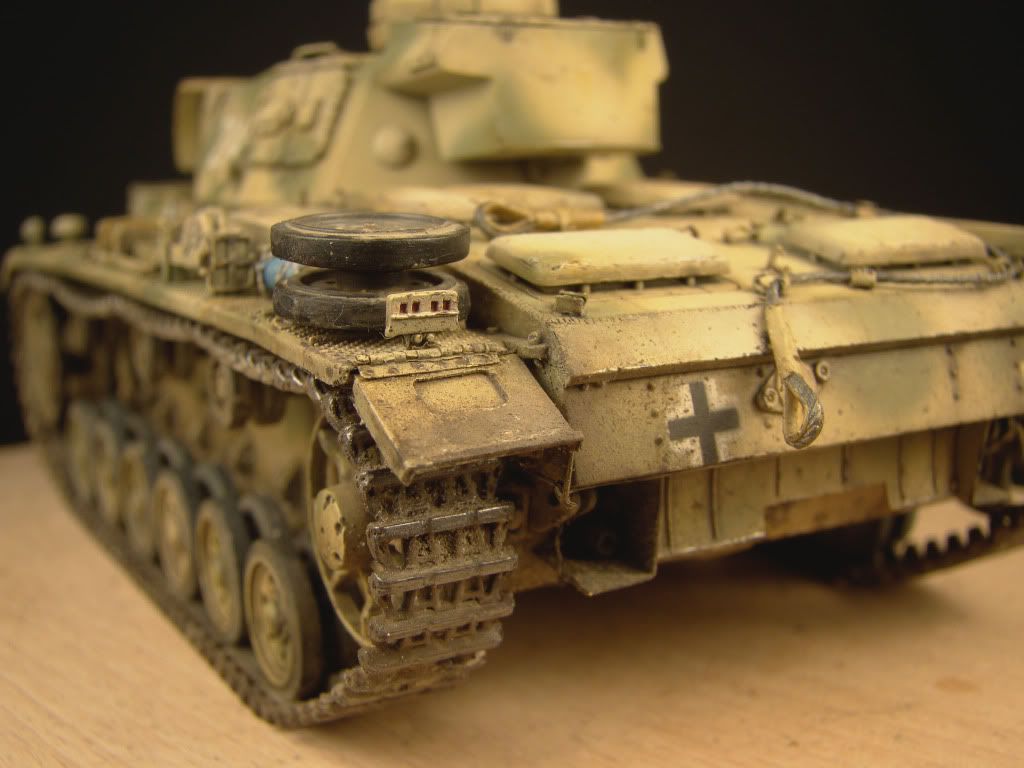
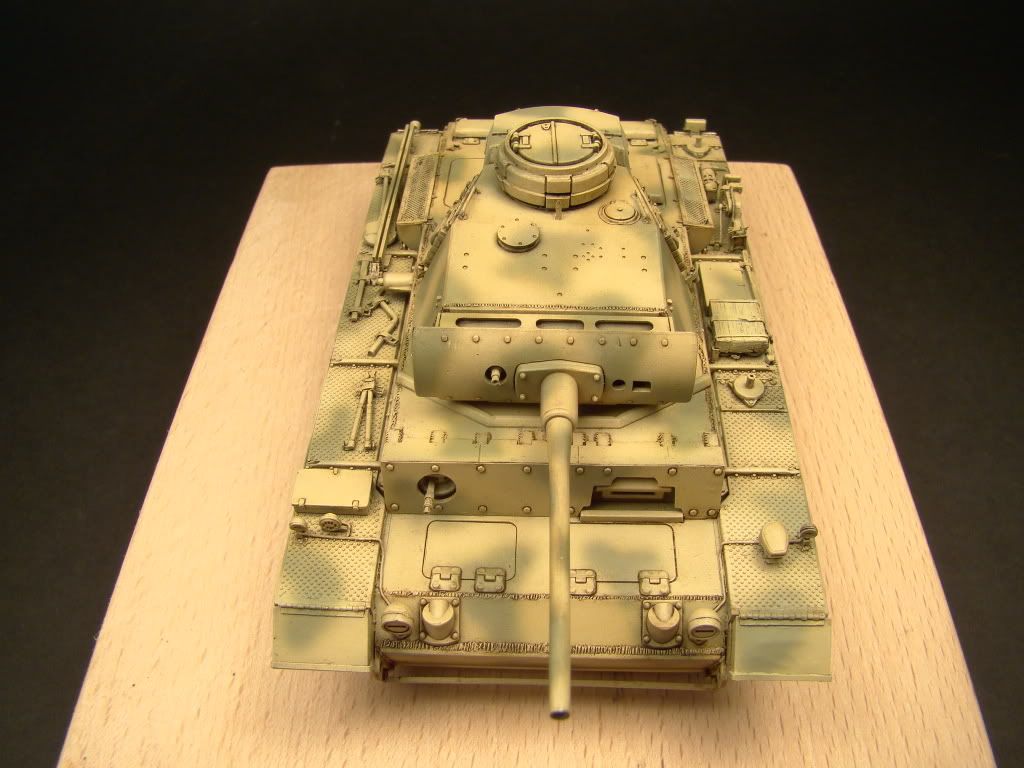
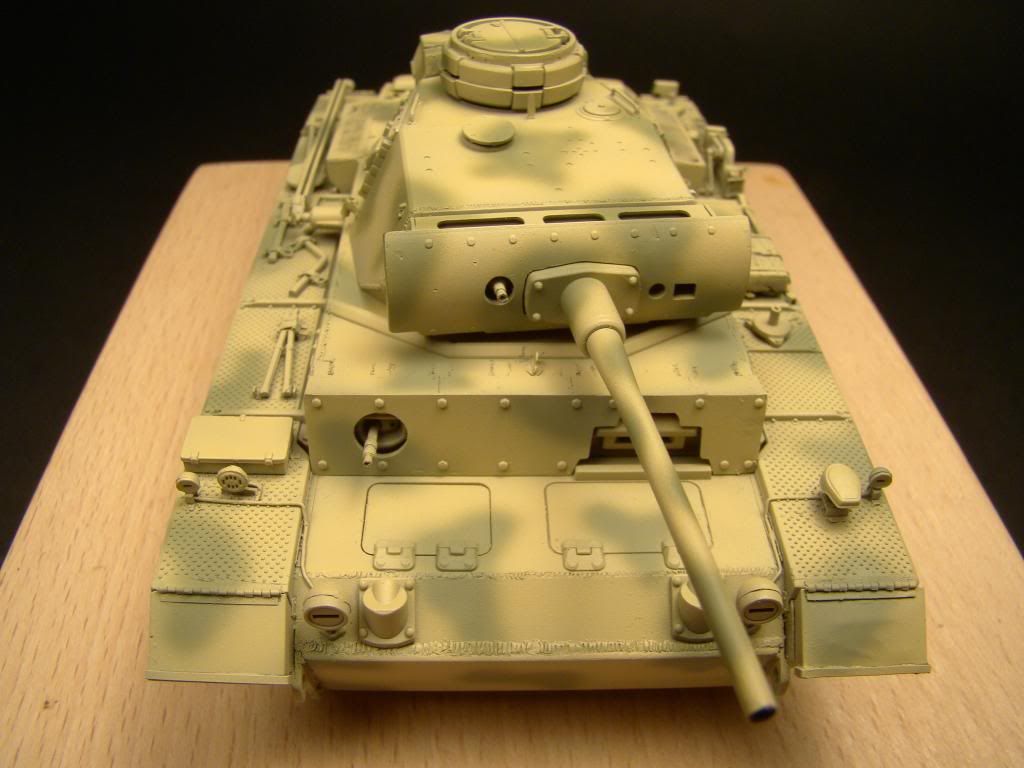
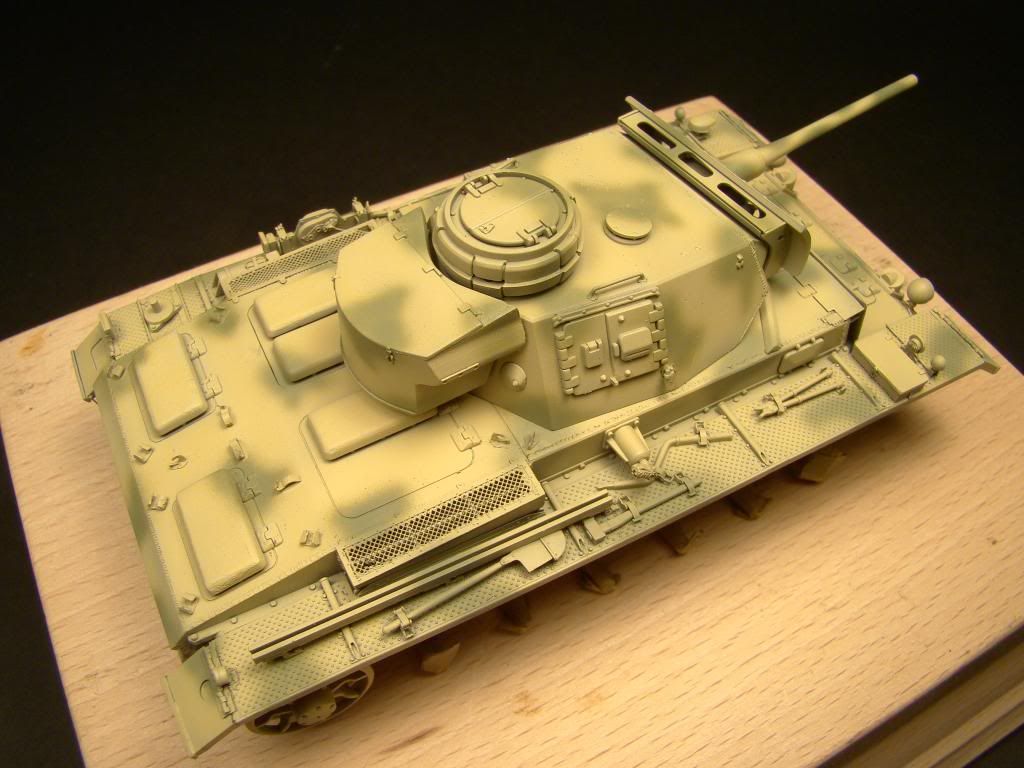
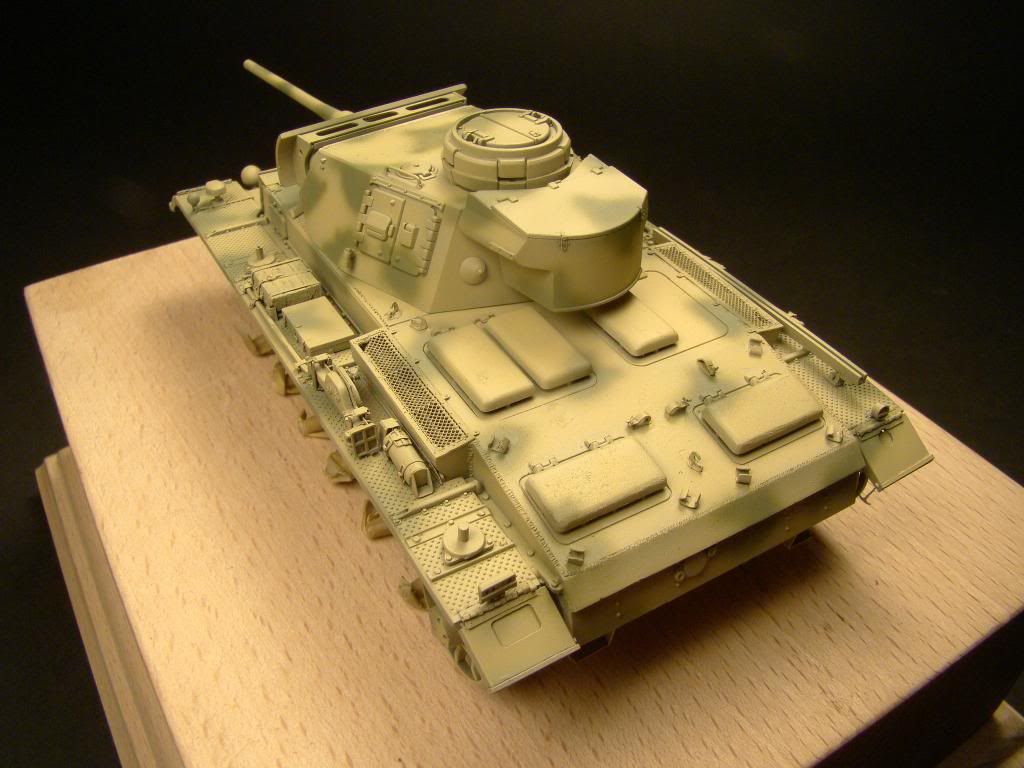
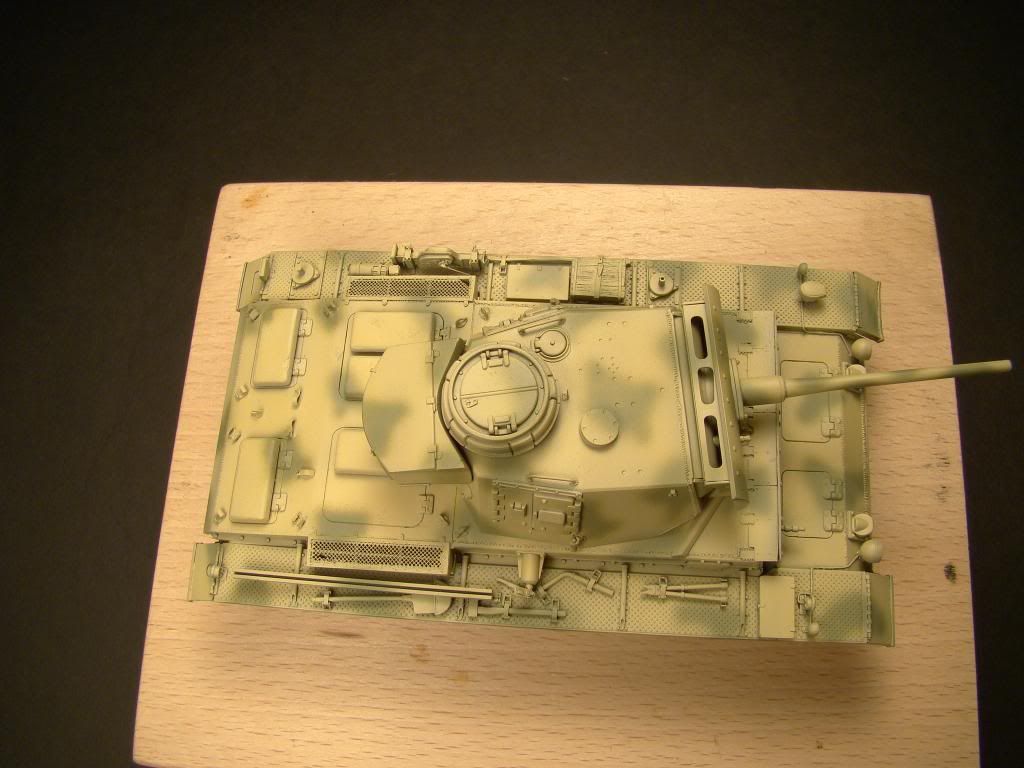
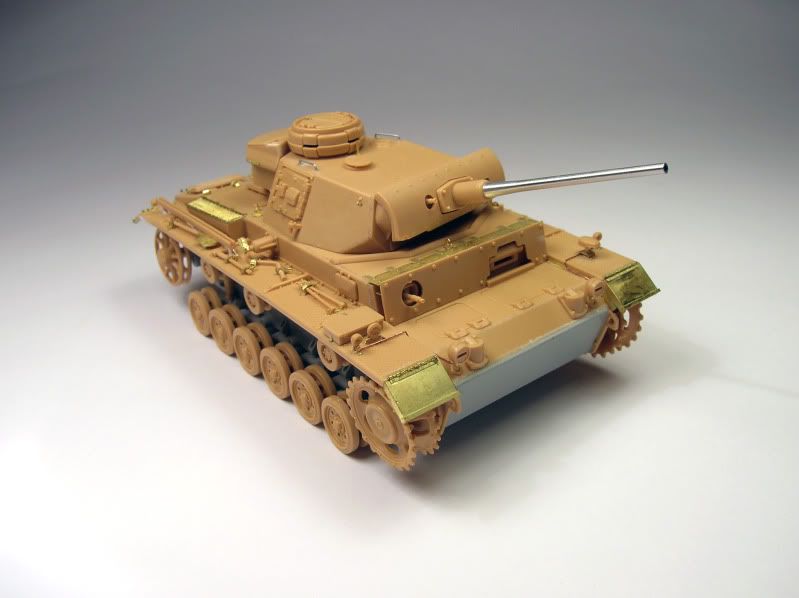
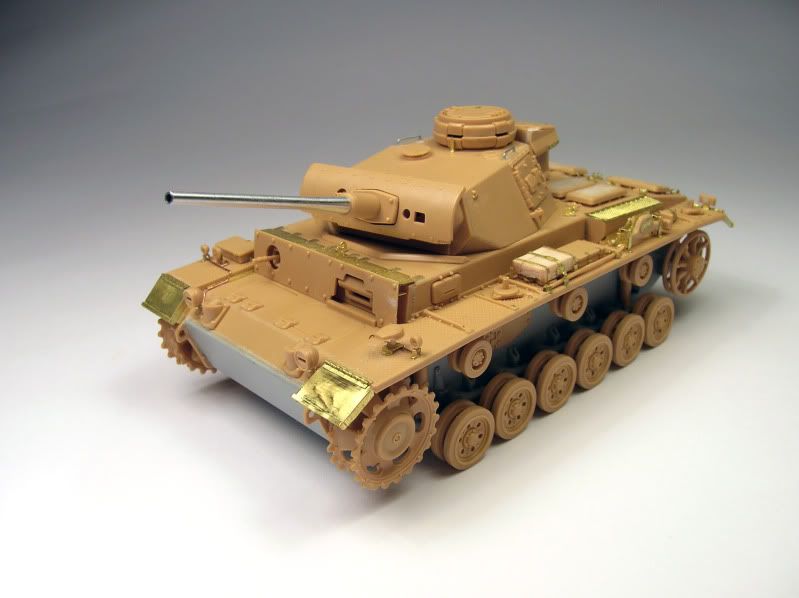
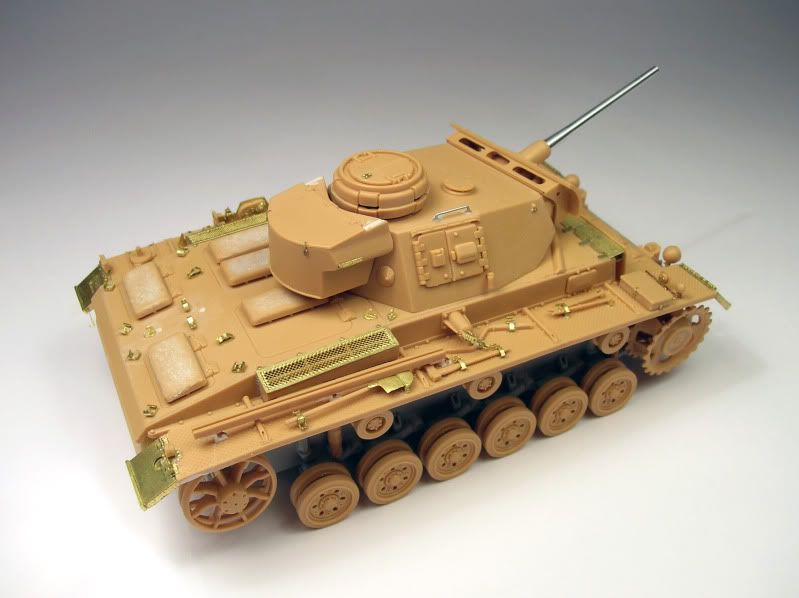
I have built the motorbike from Tamiya for that I have used Aber photoechted parts.
After assembling the motor's main parts it had to be filled and polished on a few joining  points. The next step was the attaching of several pars of the upgrade kit. I haven't used the spokes, only the nave of those.
 I replaced the spoks with thin wires. The spoke of upgrde kit didn't go into the rim of the wheels, unless I rub off the convex part of  the rim. But this wouldn't be realistic. I cut out the nave and chain protector from the plastic rear wheel's rack and I replacedwith thin metal sheet. I deepened the connection of the mudguard and the tire with tapering scalpel. The rear seat rack was a plastic block. I milled it out by original pictures, so the mudguard and the rack are differentiate from together.


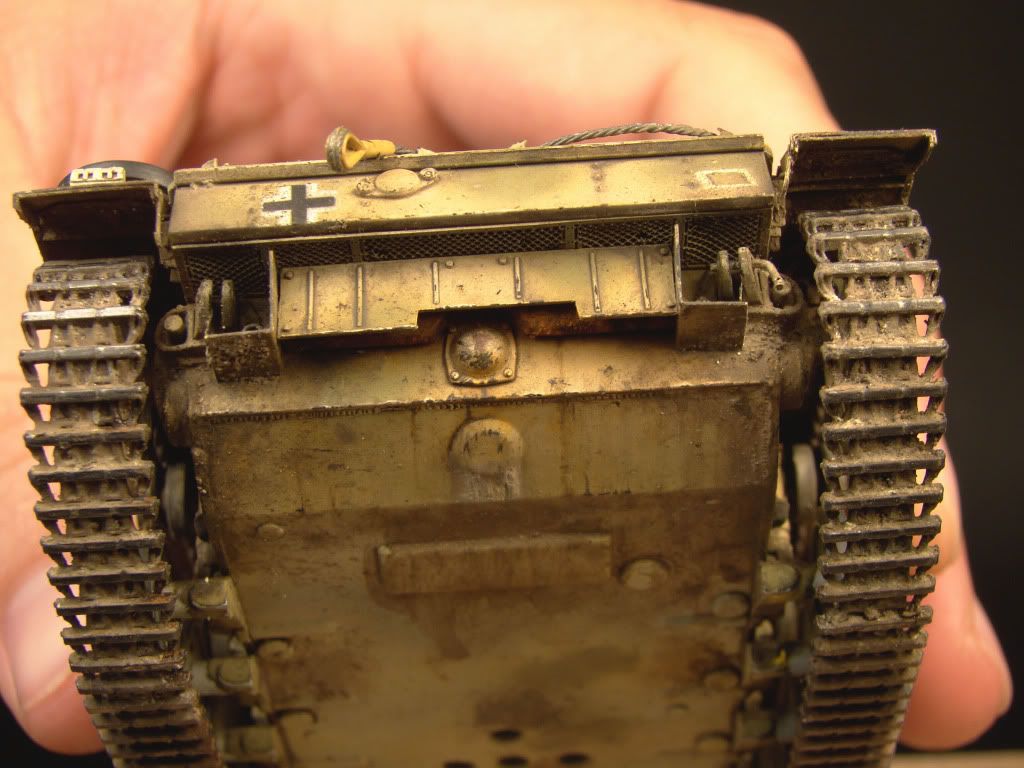
I use Gunze acrylic colors for painting after Tamyia black priming. I mixed the yellow's right tone by using Sandy and Dark Yellow. I washed up the surface  with VanDyck Brown. I let the motorbike to dry for a long time , after this I made wearing and rusty spotting. The next phase was the fixing of the decales. After t I made the weathering (muddy marks etc.), for this I used light and dark pigments with enamel. Following this I had been waiting for a week to let the enamel dry. And finally I have painted a thin layer of flat varnish with airbrush.


Thanks for your lookings !

péntek, november 19

Pz III/L painting finished

I have finished the painting in 95 %.
The painting has been continued with signals (painted) and numbers (dry decals) applying. I have made the dry brushing on the basic colour with buff as on mending with yellow. I always use artist oils for dry brushing.
( I have never used acryl for dry brushing) When the oils dried, I have mixed two colours for chafing. Either is brighter than basic colour (nearly white), the other is dark (black and brown). I wouldn't have like to make an very rusty vehicle. Therefore I have painted chafing stains wherever was necessary, for example manholes, edges of armor and plates. This has been made with thined acryl paint. With some chafings I have made rusty runoff with oil and dry brushing technic. After all I have started weathering's makings. I used artist oils in tones of brown, MIG pigments (in light and dark tones) and Neutral Wash. I have applied the pigments in pits and corner thined by MIG thiner. Ere it dried fully, I had impregnated with pigment fixer. The upswings have been made by help of brush, artist oil, pigments and airbrush. I have plunged the brush in the thined mix of pigments and oils and blowed out with airbrush on armour. This technic has already known in the face of others. After drying I have applied the track. I have sweated quite a lot, because it hasn't like to set in his tidy place. This piece has got dark tone pigments that has been impregnated with pigment fixer.
This state is presently.

Bye!


kedd, szeptember 21

continue of Pz III

I have continue the painting with a little leaching. I have done the dark washes on the tank. I used artist oil paint in VanDyck brown colour, that had been thined highly with MIG thinner ( P239). After 5-7 minutes expectation I have washed down the sloshed surfaces with MIG thinner. I left the surfaces here and there more darkly ( in corners, cracks, weld lines ) or more brightly ( armour-plate's area ).

Next missions : to apply the signals, numbers and dry brushing....


kedd, augusztus 31

Pz III/L painting after building

Dear Visitors,

After little pressure break the Pz III/L project is continue again.
I had been questing long time before I decided for Pz's camo pattern. Many manding appeared from summer of '43 on the eastern front. This Pz was pertaining in strength of Totenkopf where the painting hasn't been accreted yet.This gave me a little free hand in made of camo. ( certainly by right of archive photos )
After building it got a black primer colour. I always use Gunze colors for painting, because that can use well for airbrush painting. Pz's basic colour is Dark Yellow and the staines are USAF green that I brightned with white in different rate.

Some pics:


szombat, december 5

Pz.III Ausf.L, Russia 1943...part 1

Here is my latest model, the tiny 1:48 Tamiya Pz.III Ausf.L.
I upgraded the kit with the fantastic Aber PE set, and the alu barrel also from the Aber.
I remade the weldings and the casting imitation on the back.

Janos Illés


Here are the photos after the building phase: